Writing Your World's History
"The Last Lighthouse" has a past: a fleet lost on the rocks, the night the lamp was first lit, a prophecy the village whispers about. This tutorial records that history as Lore, then turns your whole world into a book you can print or share.
Add a Lore entry
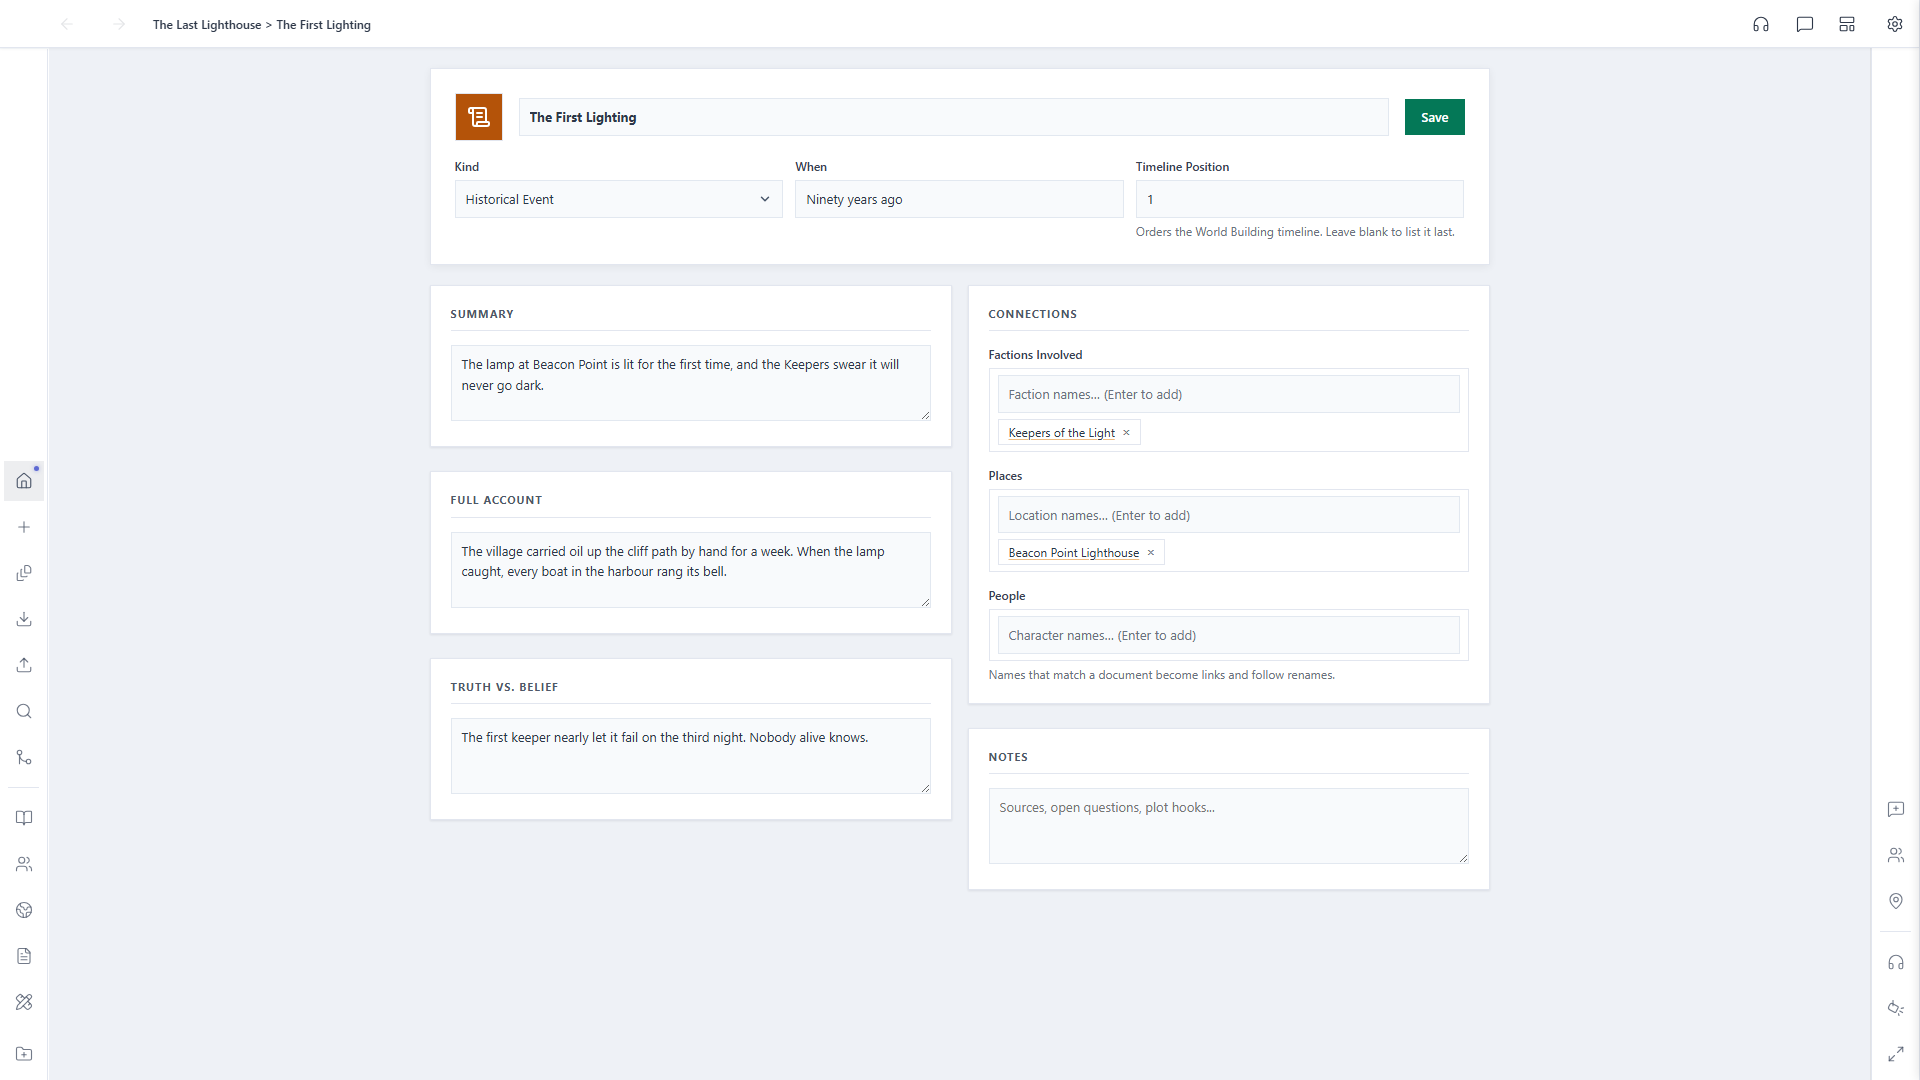
Open the World Building folder, click Add new…, and choose Lore. A Lore entry can be a historical event, an era, a myth, a prophecy, a piece of cosmology, or anything else your world remembers. Pick its Kind, say When it happened in your own words, and give it a Timeline Position: a plain number that decides where it sits on the timeline.
Write a one-line Summary and as much of the Full Account as you like. Under Connections, add the Factions, Places, and People involved. Names that match your documents become links, and they keep working if you rename those documents later.
See it on your world's timeline
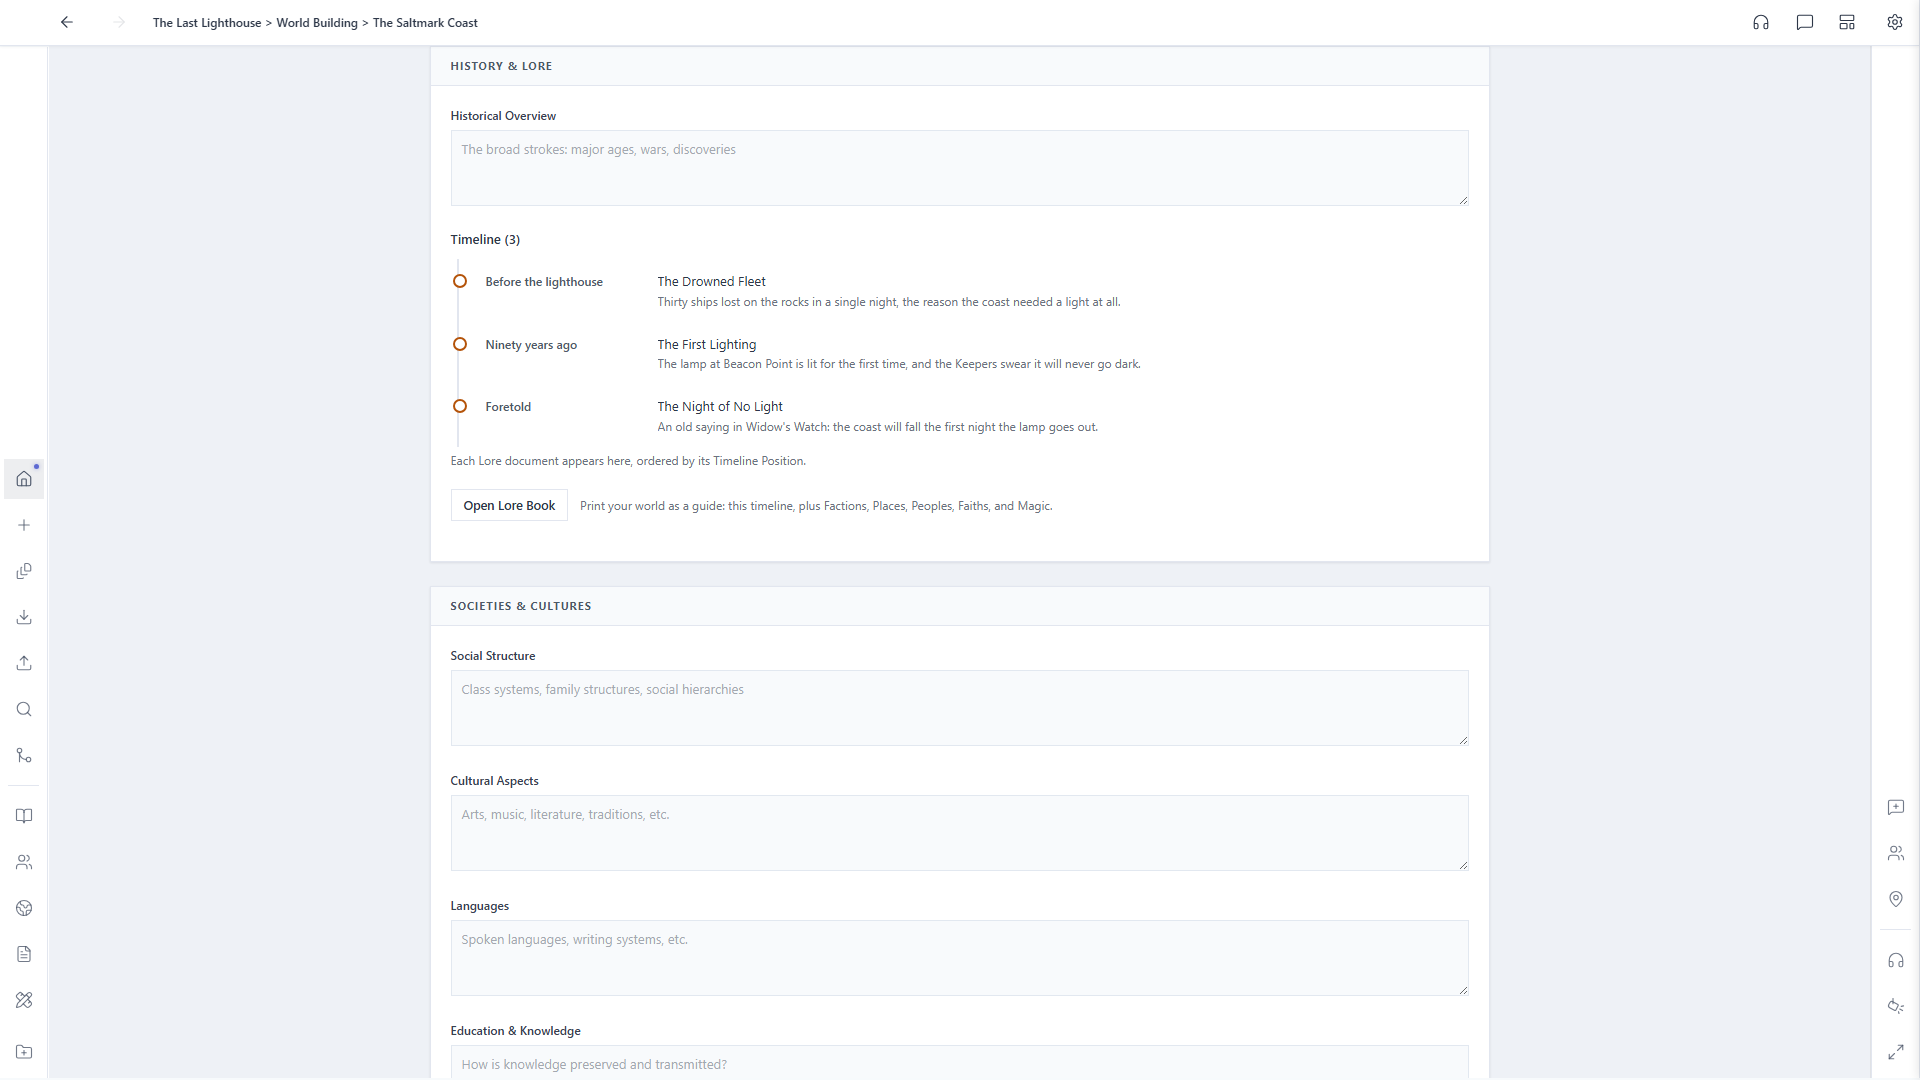
Open your World Building overview and scroll to History & Lore. Every Lore entry appears there in Timeline Position order, so you can read your world's history from the beginning. Click any entry to open it. Each Faction, Location, and Character sheet also lists the Lore that mentions it.
Open your Lore Book
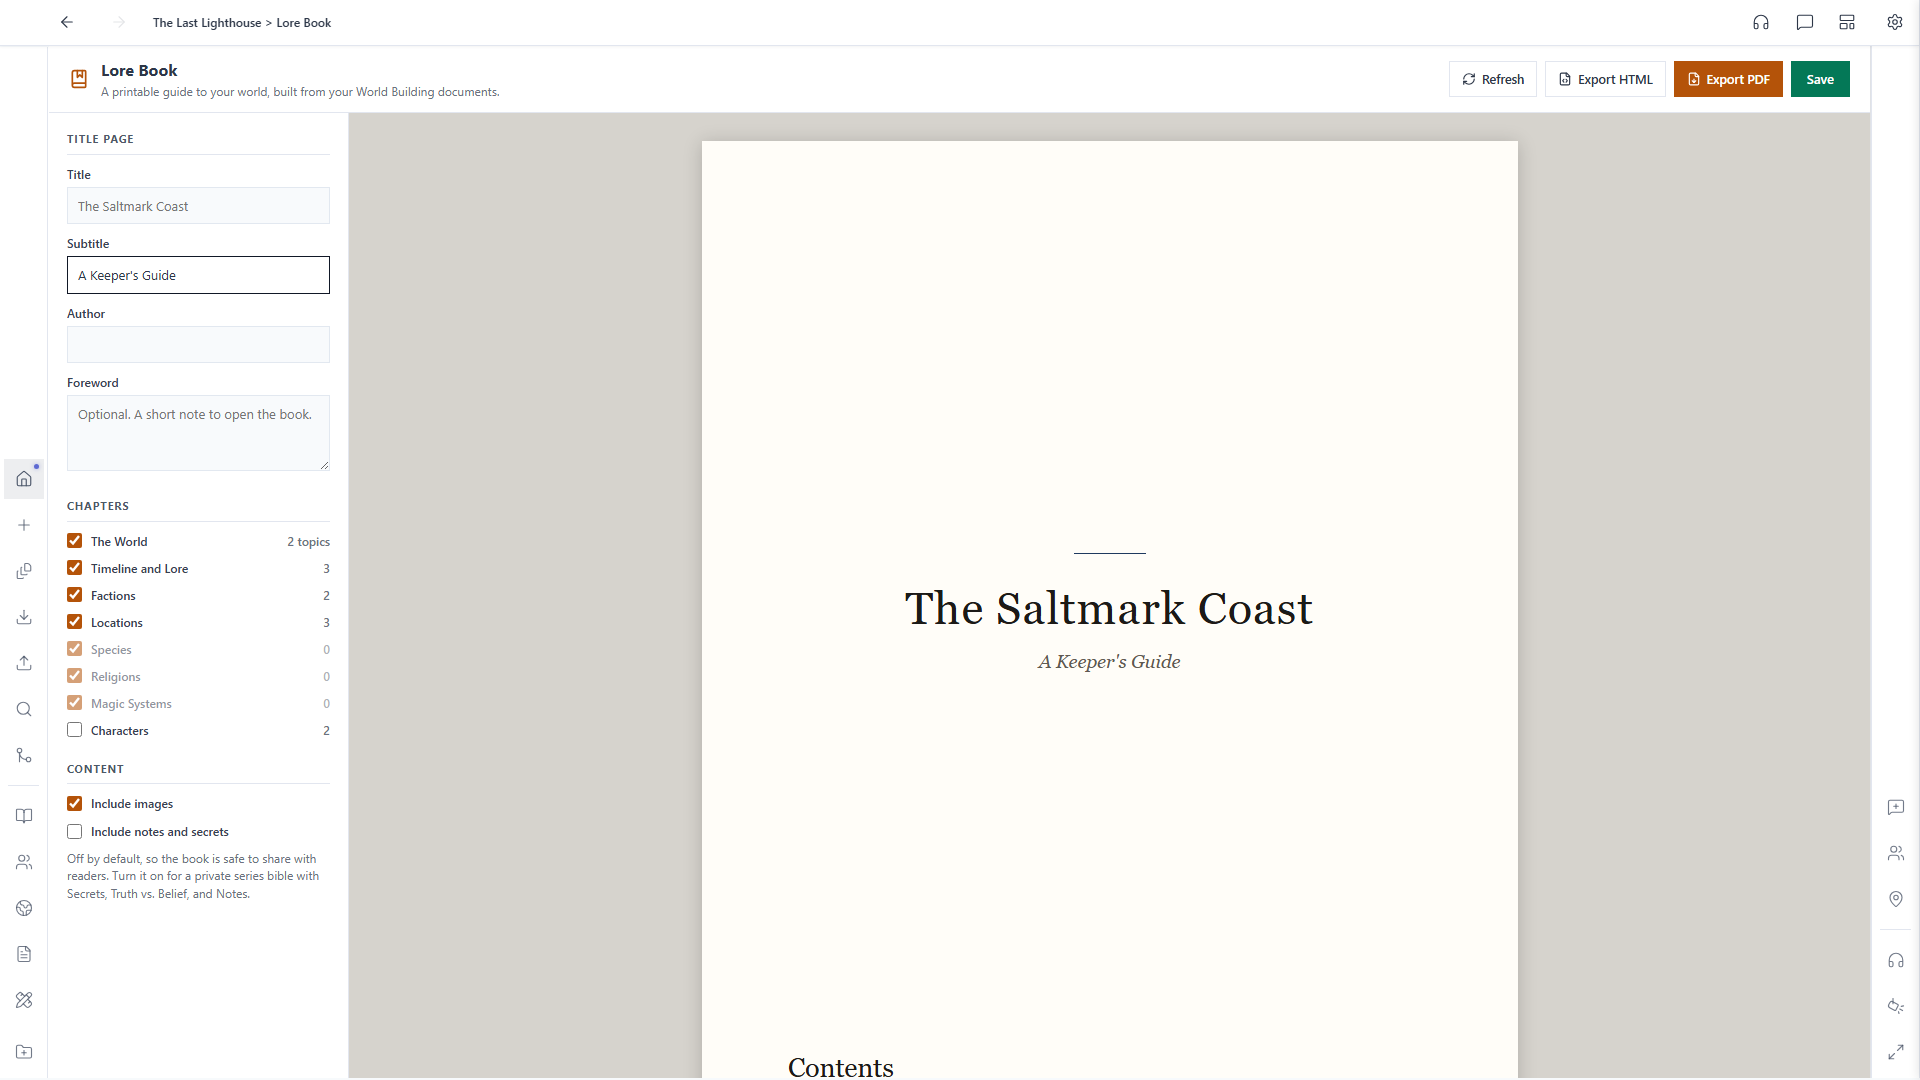
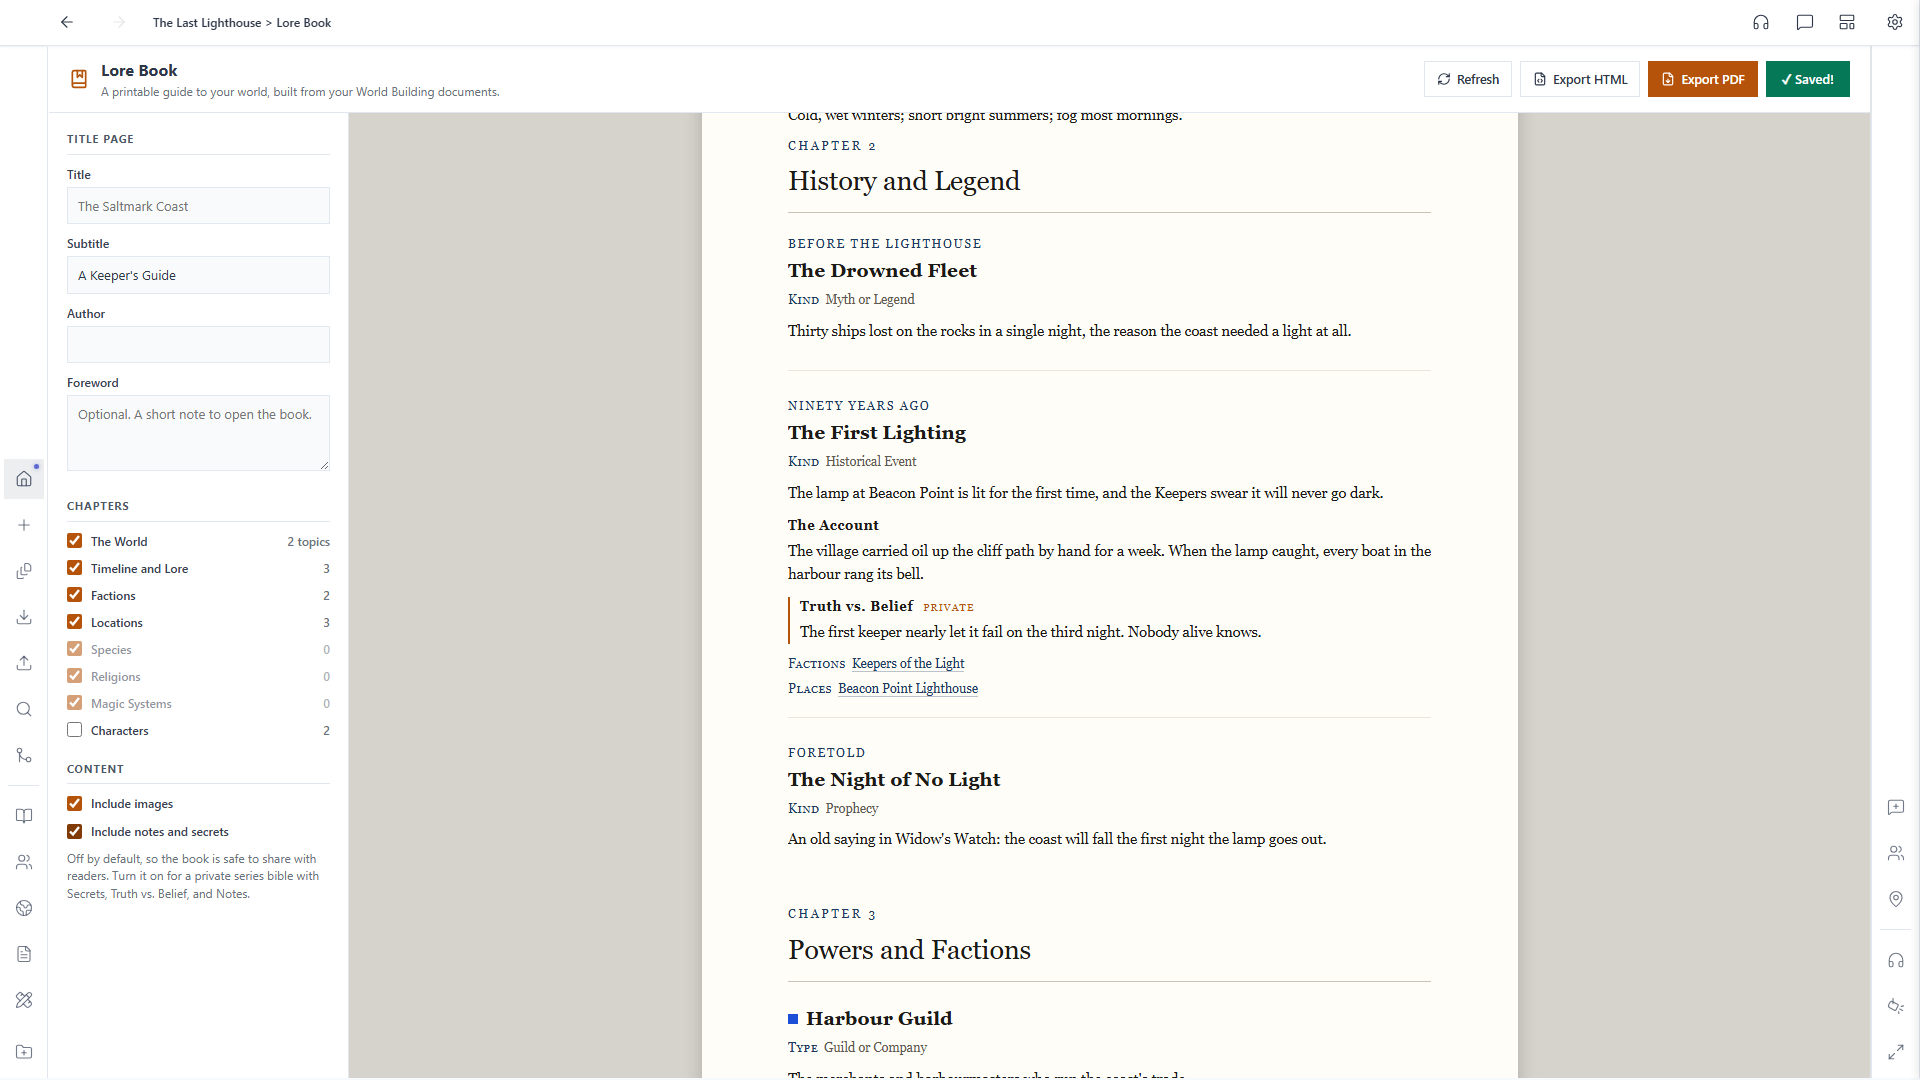
Click Open Lore Book under the timeline. Alistair gathers your Lore, Factions, Locations, Species, Religions, and Magic Systems into a single guide to your world, with a live preview on the right. The title comes from your world's name until you type your own, and you can add a subtitle, an author line, and a short foreword.
Under Chapters, tick the parts you want. The number beside each one tells you how many documents it holds, and chapters with nothing in them are left out of the book automatically. Characters are off by default; turn them on for a cast list.
Read it like a book
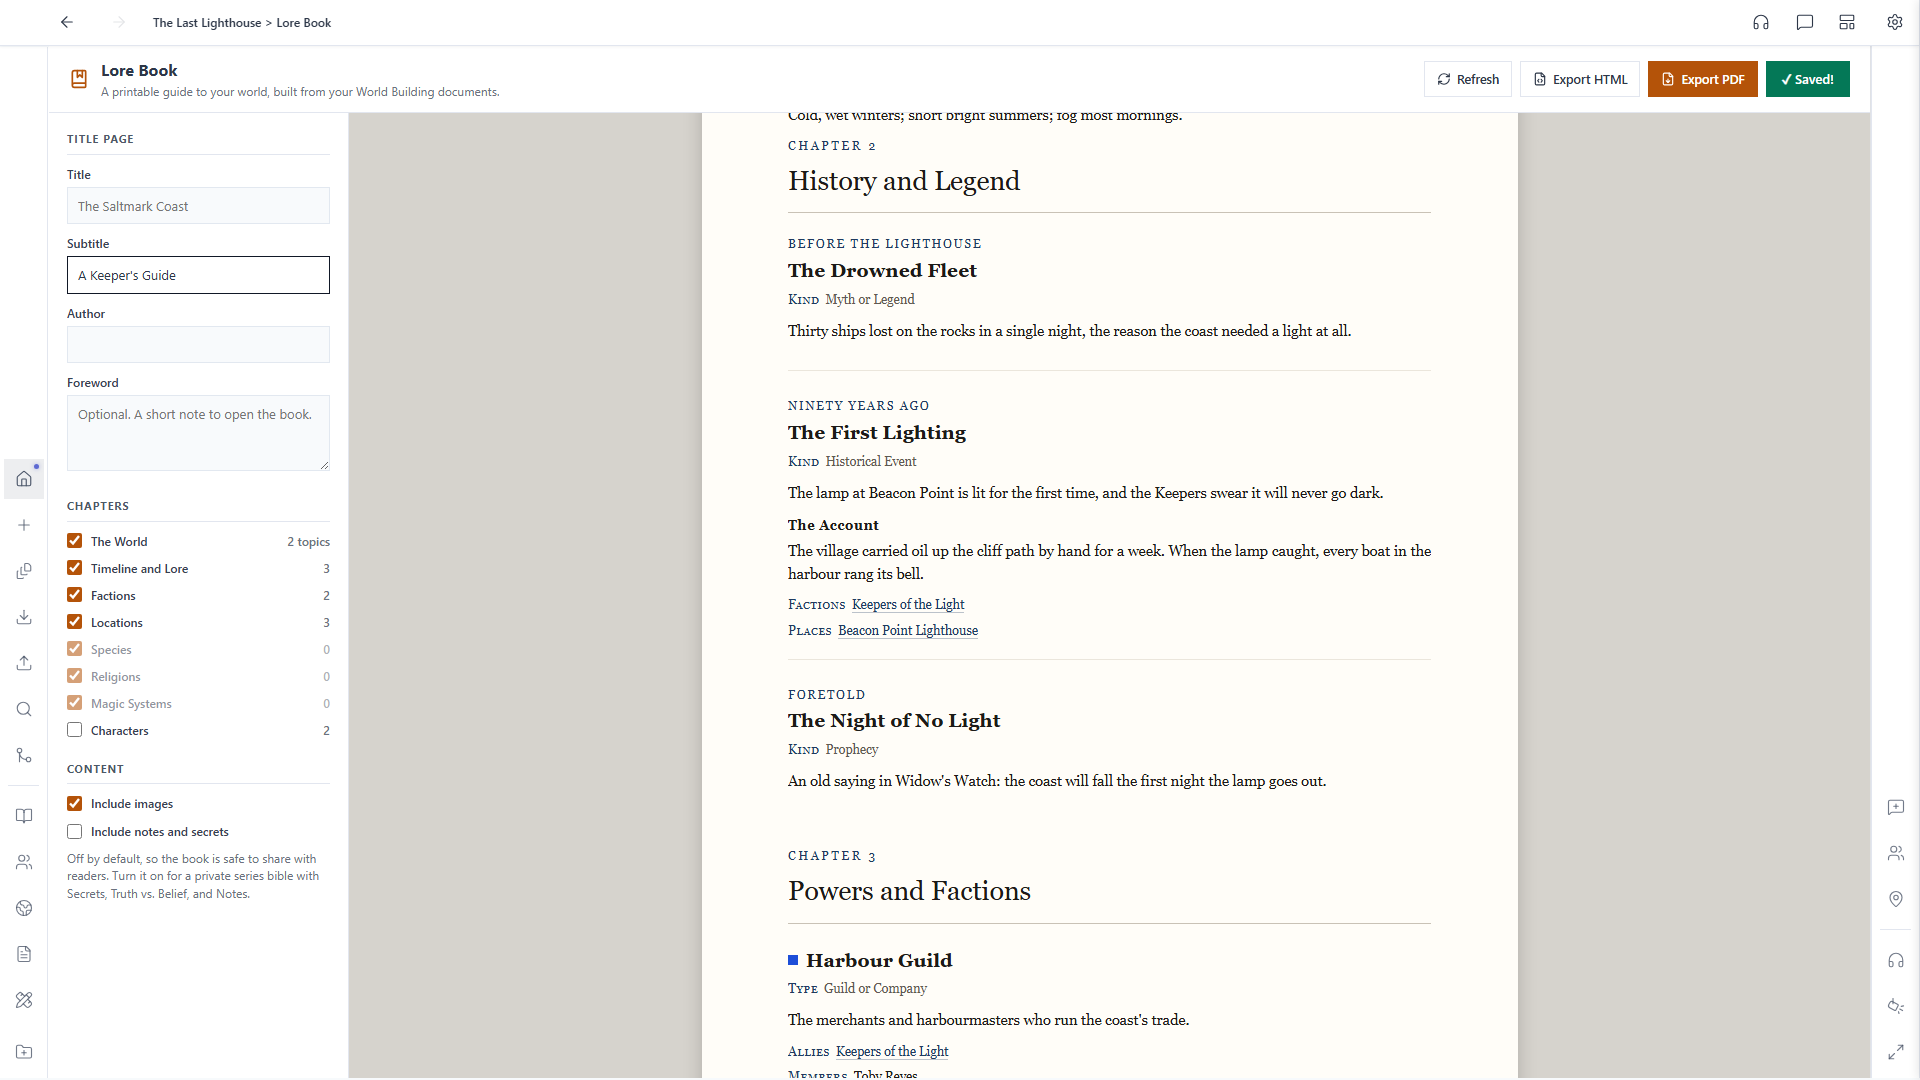
Scroll the preview and you'll find each chapter on its own page: your history in timeline order, then your Factions, Places, and the rest. Every mention of another entry is a link, so a reader can jump from an event to the Faction behind it and back again. Sub-locations sit under the place they belong to, and each Faction lists the characters who belong to it.
Keep your secrets, or don't
Out of the box the book leaves out your notes, a Location's secrets, and every Truth vs. Belief, so it's safe to hand to readers. Tick Include notes and secrets when the book is just for you: a series bible with everything in it. Private sections are marked so you can always tell them apart.
Export it
Click Export PDF for a print-ready, letter-size book that opens straight in your PDF viewer, or Export HTML for a single web page you can send to anyone. Both are built from exactly what you see in the preview. The Lore Book always reflects your latest documents; click Refresh if you've just edited something in another window.