Mapping Your World in the Atlas
Your Factions and Locations already know a lot about your world. The Atlas turns them into a real map: coastlines, rivers, territories in each Faction's colours, and towns named after your places.
Open the Atlas
Head to Drafting → Story Board and switch to the Atlas tab. A new project starts with an empty map. The World tab next to it keeps the diagram of how your locations nest inside each other; the Atlas is the geographic map.

Build it from your World Building
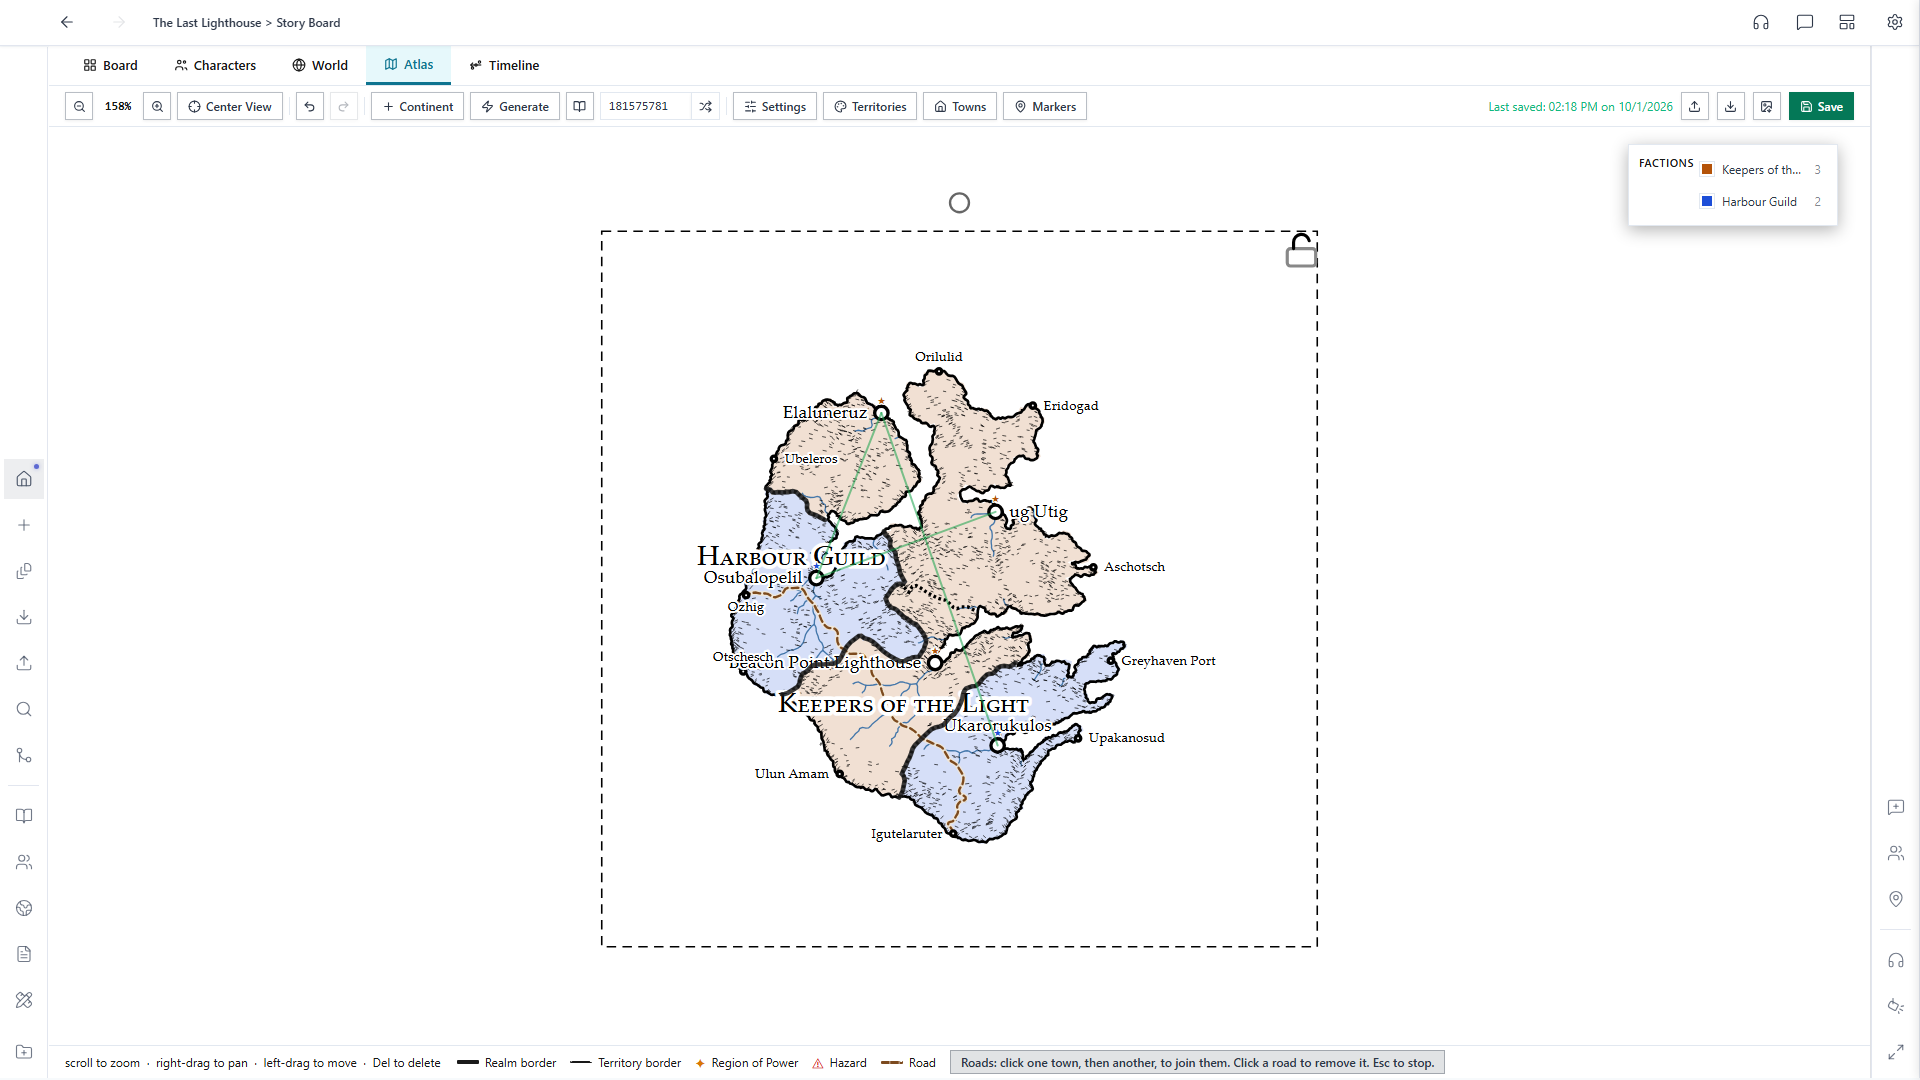
Click the book button beside Generate (From World Building). Alistair reads how many continents your World Building overview describes and generates them, then hands each territory to one of your Factions, colours it to match, and names towns after your Locations. The Factions legend in the corner counts each Faction's territories; click a row to find it on the map.

Assign territories
Open Territories to see every territory grouped by the Faction that holds it. For each one you can change the Faction, choose which Location is its capital, and add a region tag. A Faction holding several territories shows the extras as compact pills; click one to edit it.

Redraw a border
Borders are generated, but they don't have to stay that way. Click the brush at the end of a territory's row, then drag across the map: any land you paint over joins that territory. Click the brush again, or press Esc, when you're done.

Name your towns
Open Towns and pick one of your Locations for any town on the map. The town takes that Location's name and stays linked to it, so if you rename the Location later the town follows, even if two towns happen to share a name.

Draw roads
Open Markers and choose Road, then click one town and another to join them. Roads follow the land rather than cutting straight across it. Click a road to remove it, and press Esc to put the tool away. The same menu places region labels and city or town markers.
Jump to a place from its sheet
Every Location sheet has an Atlas button beside Save. Click it from anywhere in your project and Alistair opens the Atlas and zooms to that place's town. Faction sheets work the same way for their territories.
