Writing and Formatting a Scene
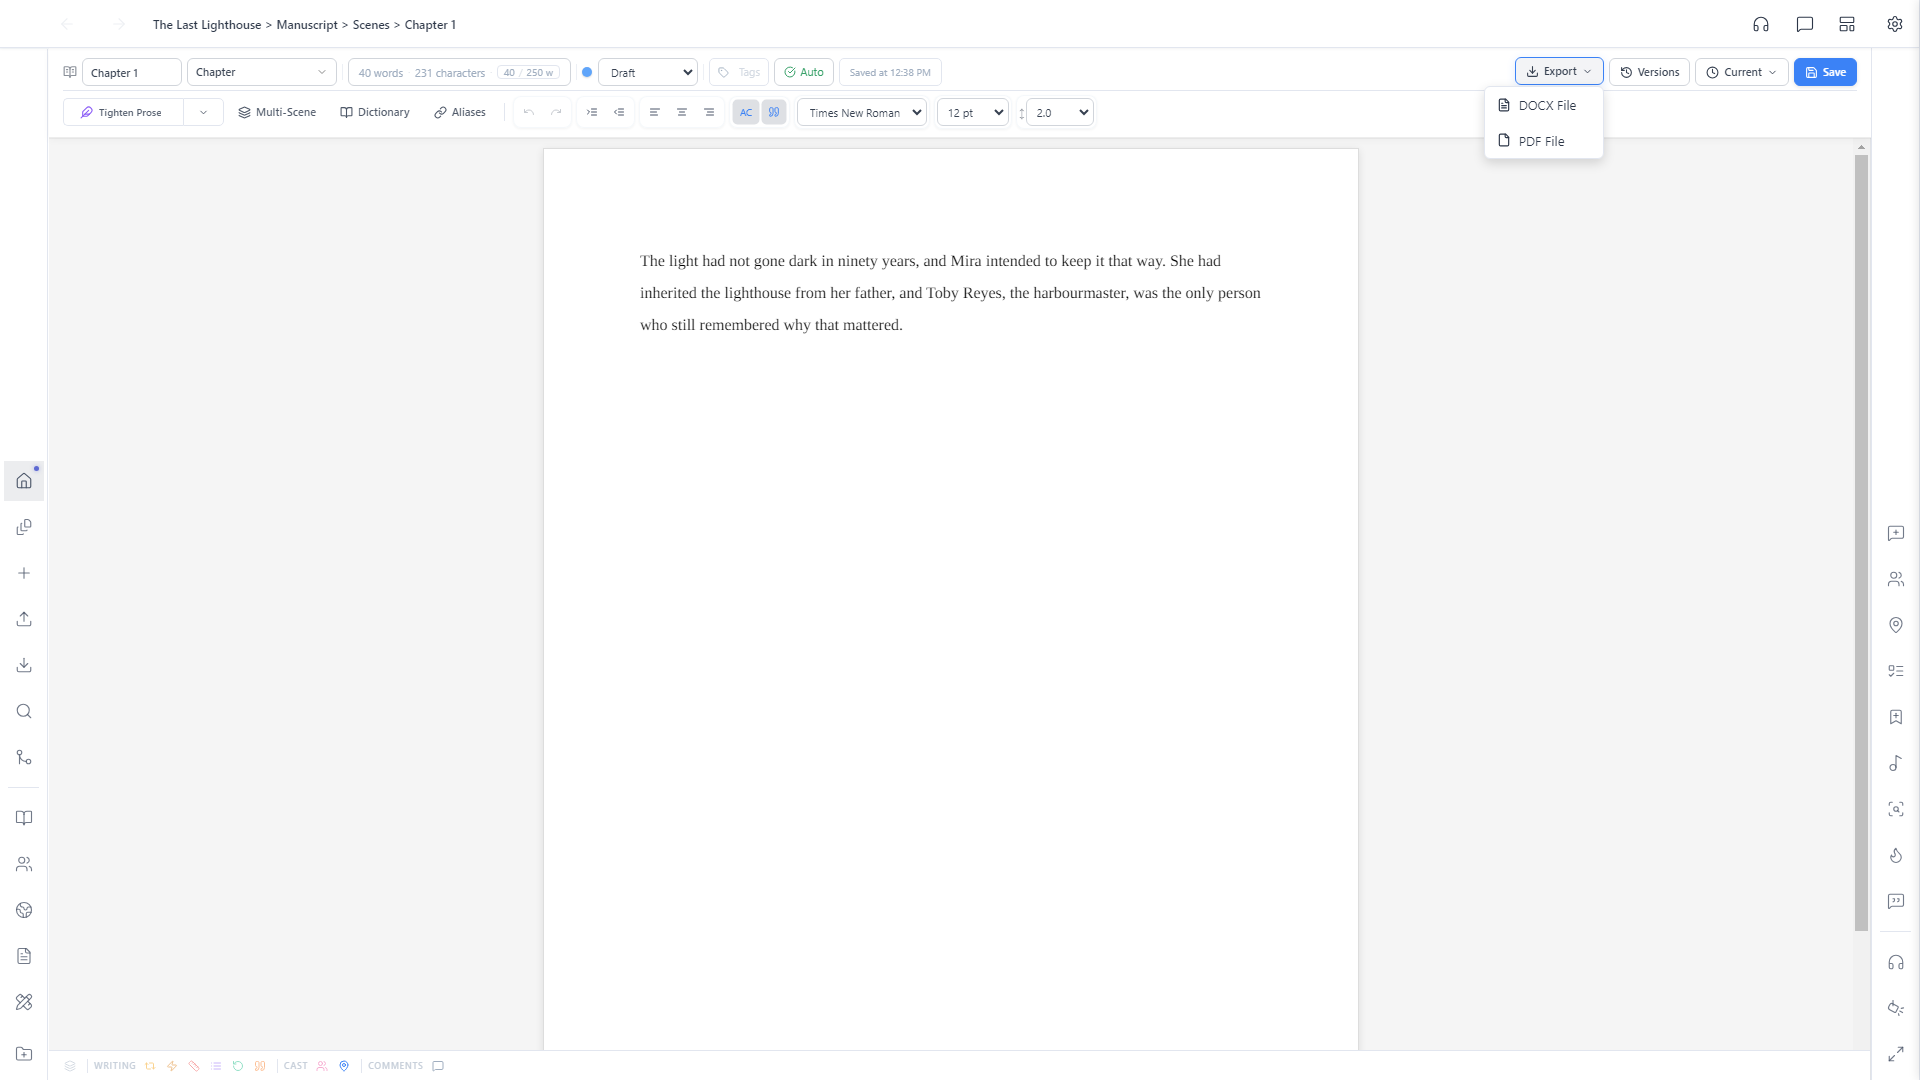
A tour of the toolbar sitting above every scene you write: status, tags, version history, and the formatting tools, all in one row so you never have to leave the page to use them.
The toolbar, top to bottom
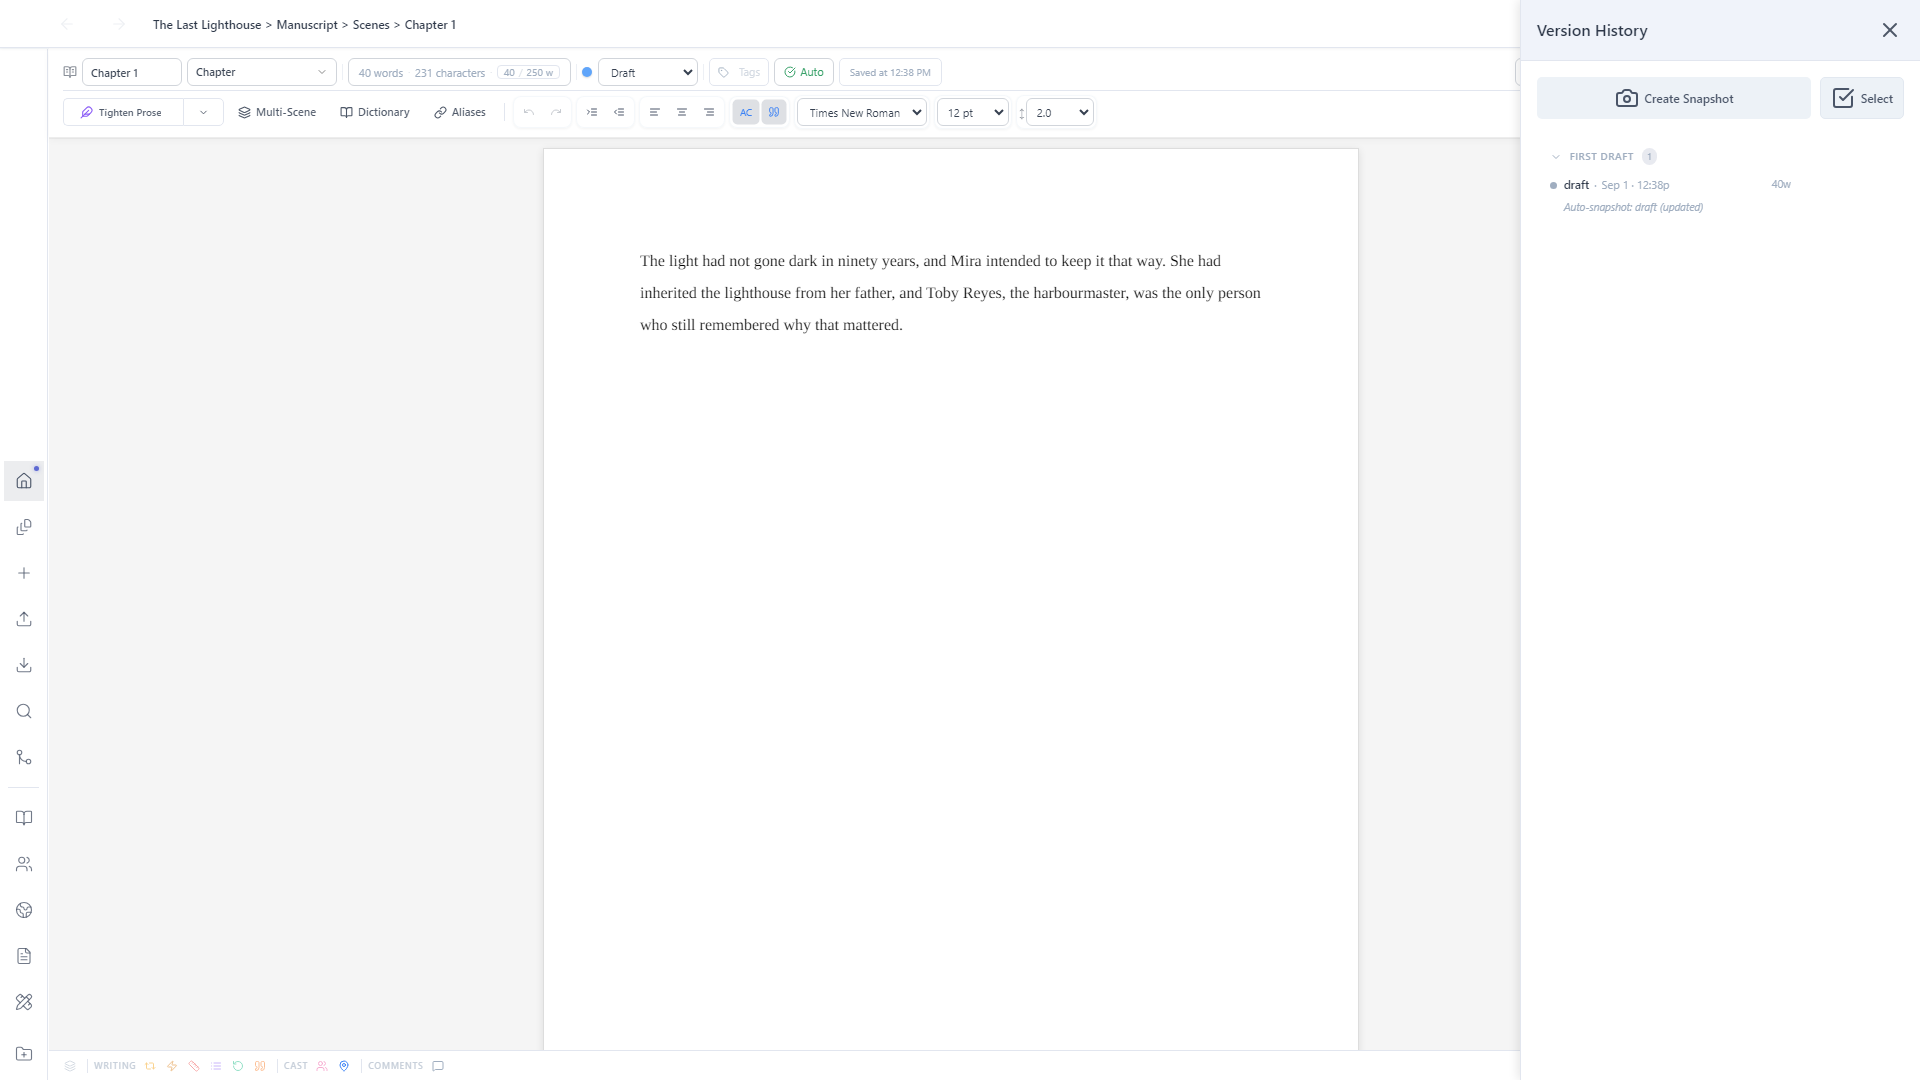
Every scene opens with two rows above the page. The top row is about the document itself: its title and type, a live word count against your target, its status, tags, and save state, plus Export and Version History on the right. The row below is the formatting toolbar: undo/redo, indentation, alignment, smart quotes, and font controls.
Status
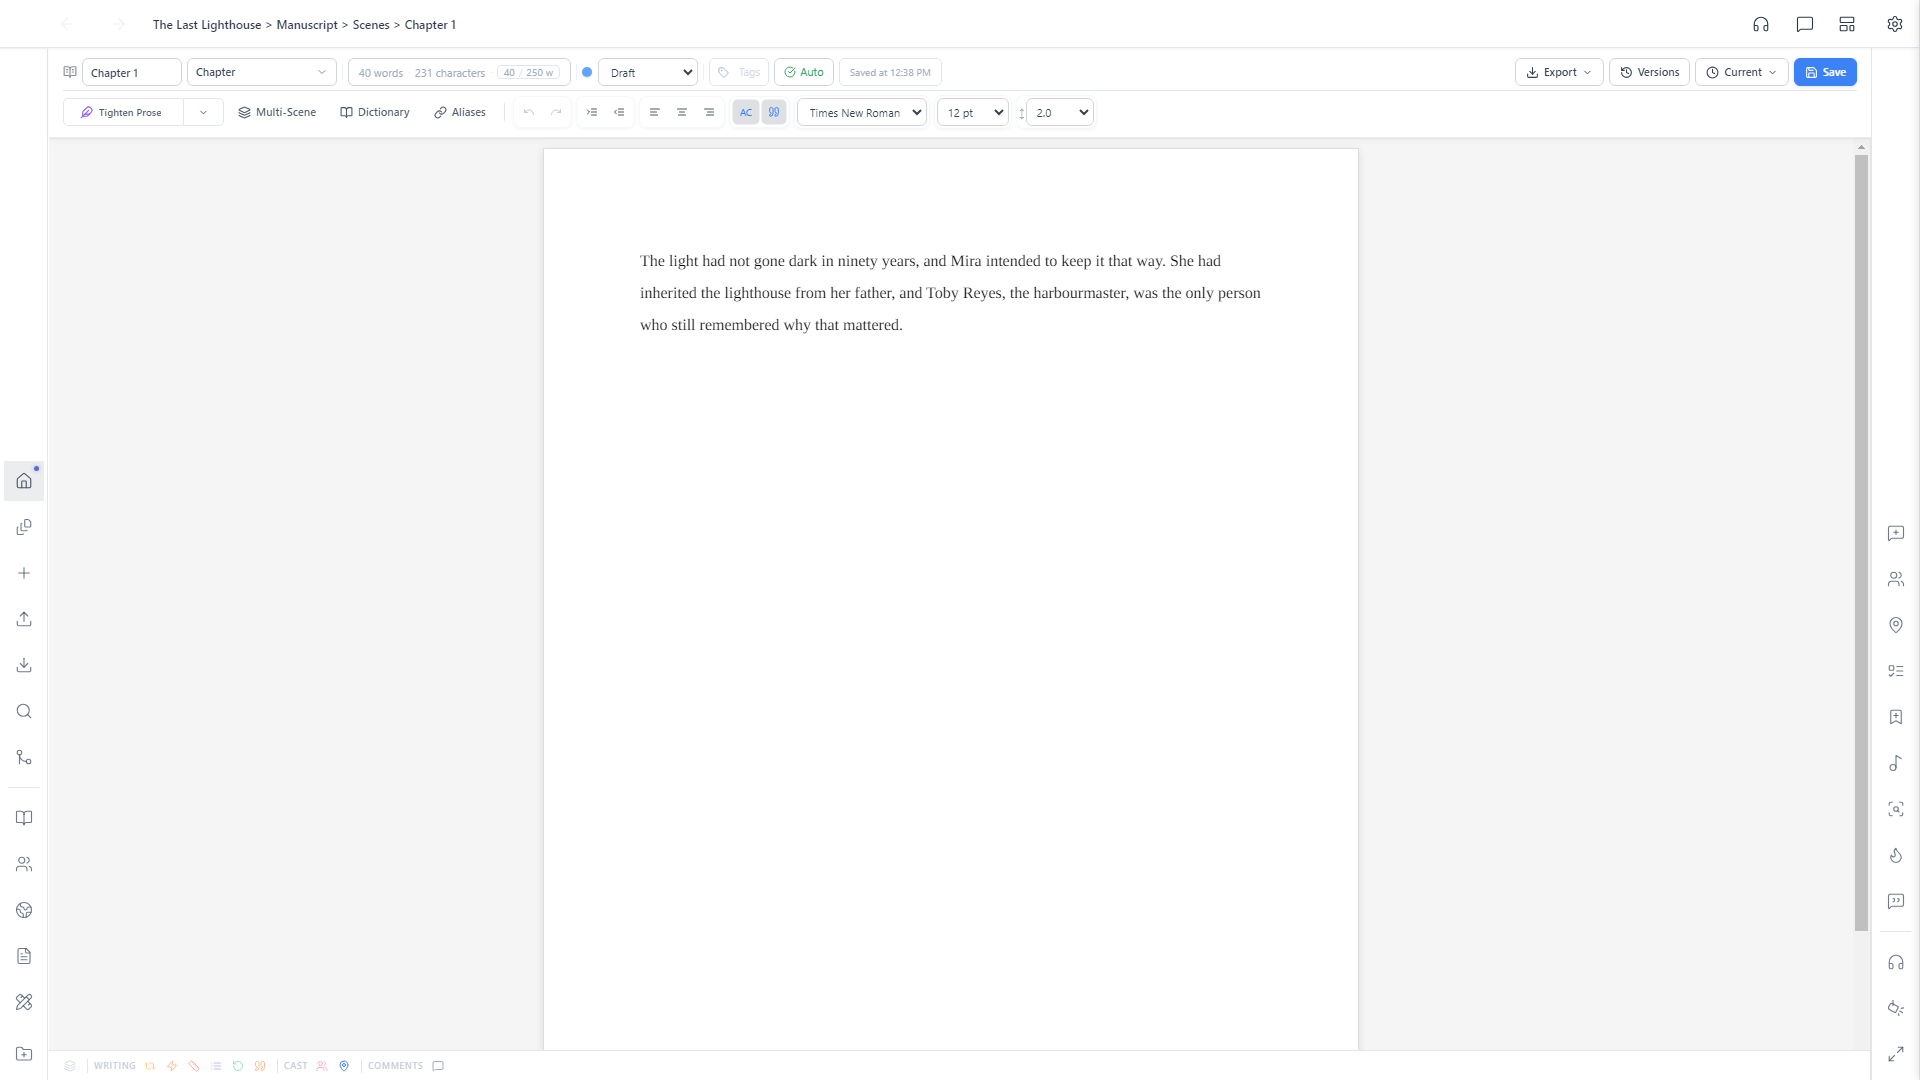
Click the status dropdown to mark where a scene stands: Draft, Revision, Review, Final, or Published. The colored dot next to it shows up wherever this scene is listed (in the Manuscript tree, on your project home's recent documents), so you can see your whole draft's status at a glance without opening every chapter.
Tags
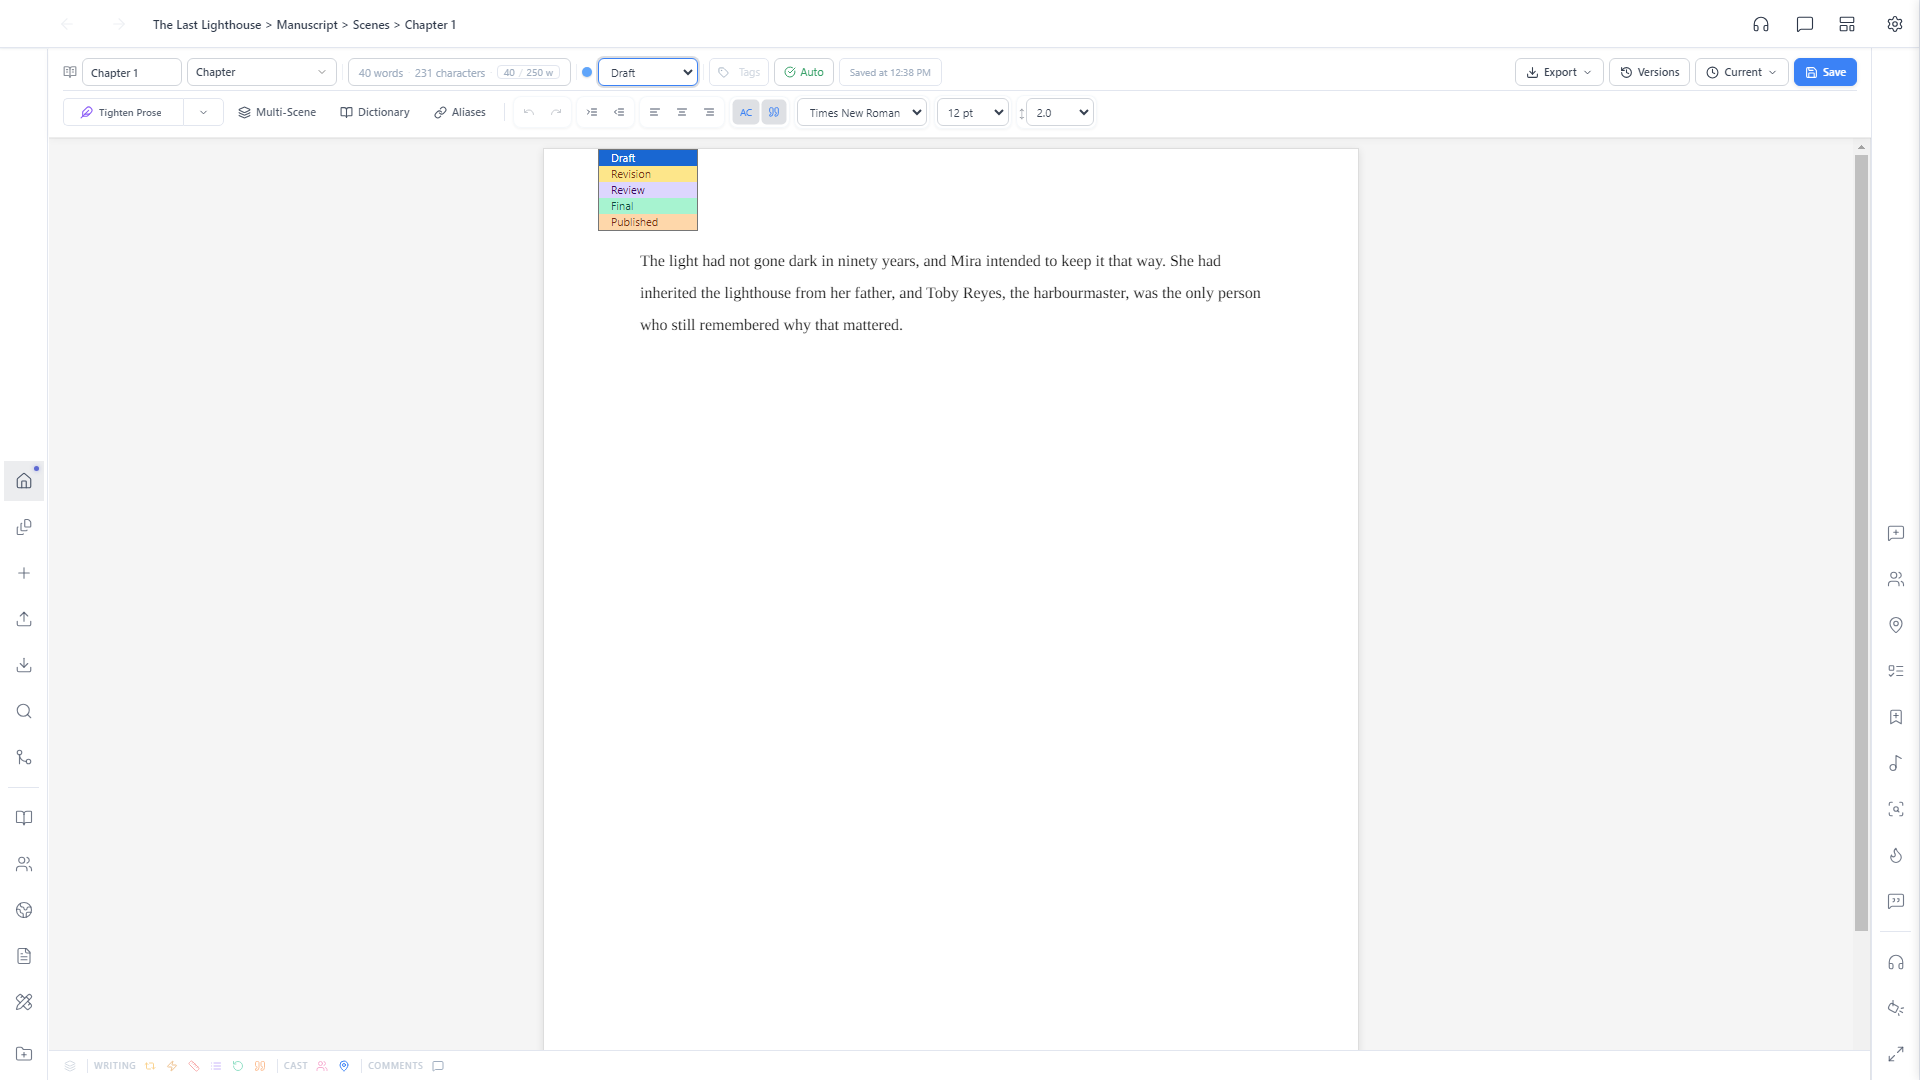
Click Tags to label a scene by what it's doing structurally: Main Storyline, Subplot, Character Arc, Foreshadowing, and more. Add your own with New tag. Tags are independent of Story Elements: where Story Elements track the facts of a beat, tags track its narrative function, so you can later filter or scan your manuscript for every scene carrying a particular thread.
Version History
Alistair auto-snapshots as you write, so nothing is ever really lost. Click Versions to open the full panel. Every snapshot is listed with its word count and timestamp, and Create Snapshot lets you lock in a version by hand right before a big rewrite, so you can always get back to it later.
Export a single scene
Need just this one chapter as a file, say to send to a beta reader without the rest of your manuscript? Click Export for a DOCX or PDF of this document alone. For the whole manuscript compiled together, that's the Compiler (covered next).