Tracking Your Novel with Story Elements
Continuing from Creating Characters and Locations, now let's tag Chapter 1 with what actually happens in it, then watch that same information build your story arc timeline automatically.
Open the Story Elements tile
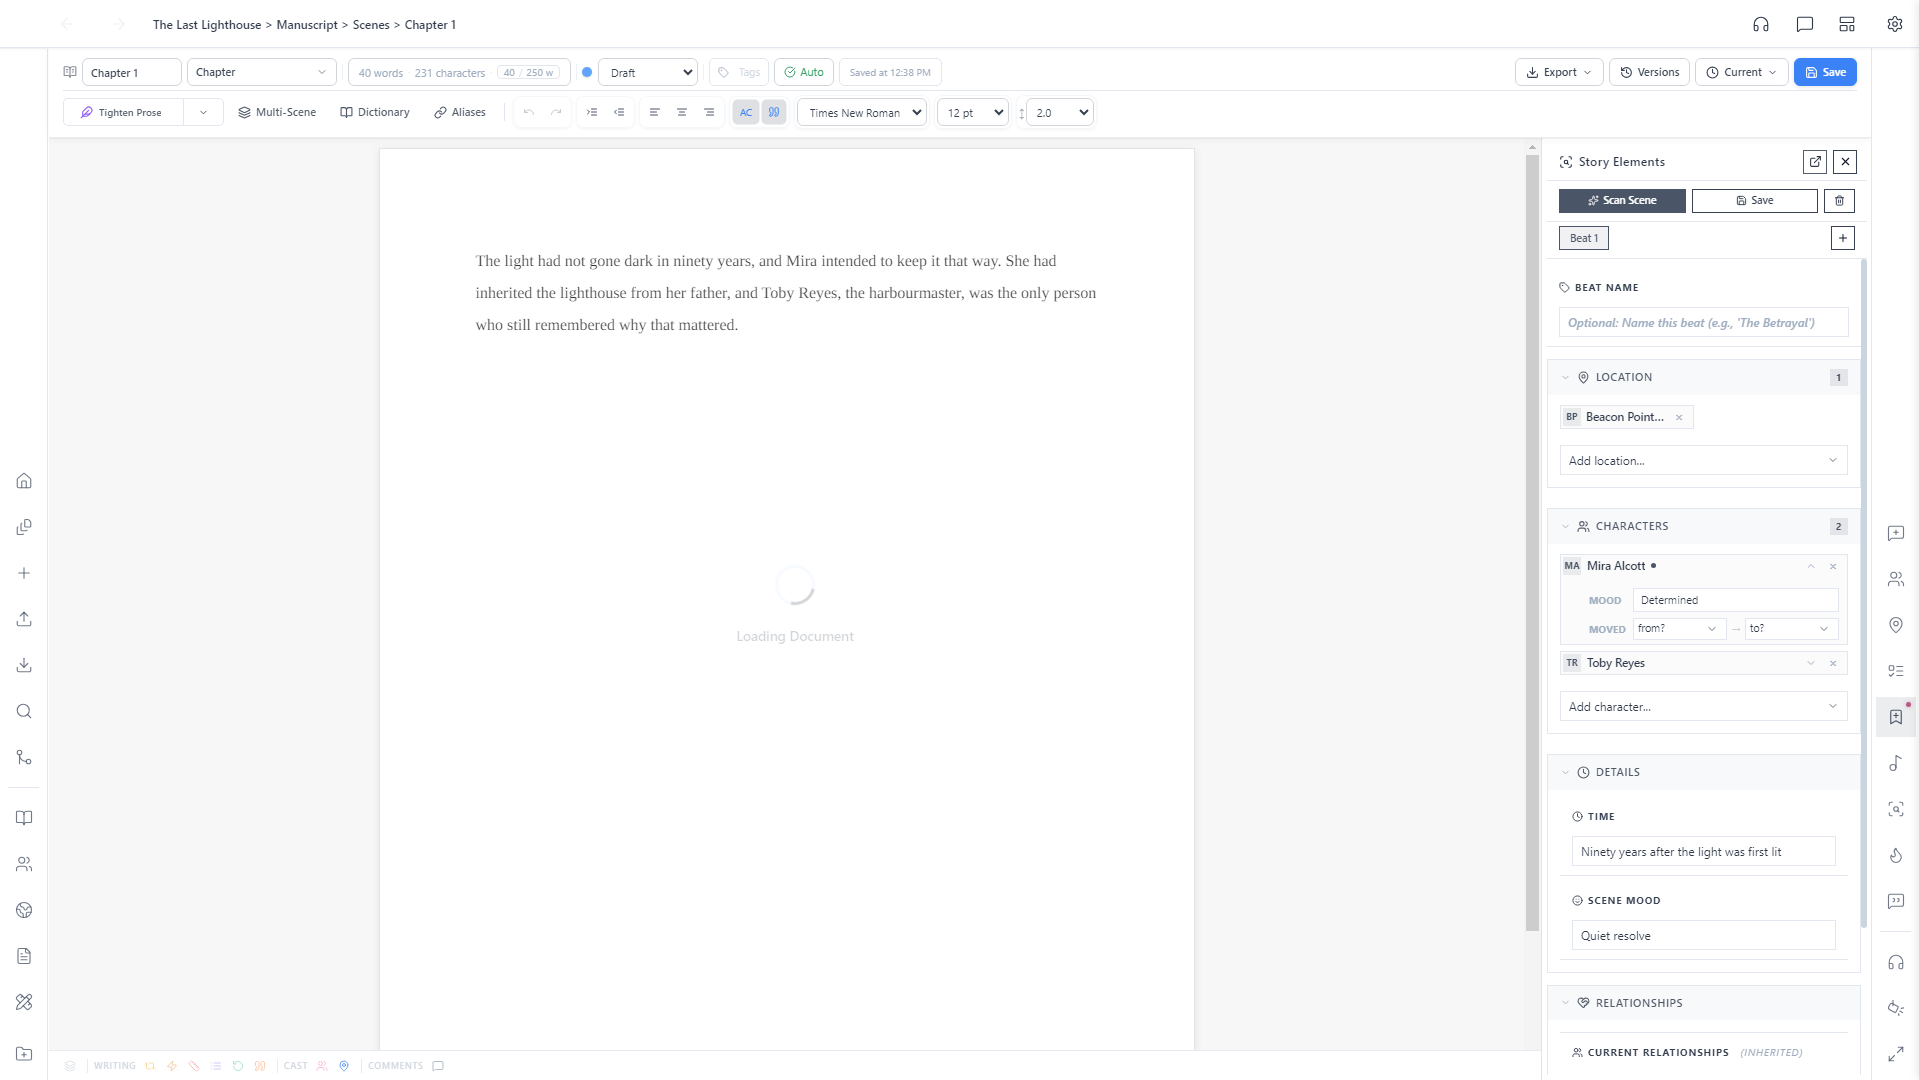
With a scene open, look at the icon strip on the right edge of the window. The Story Elements tile opens a panel for tagging the structural facts of the scene you're writing: where it happens, who's in it, when it's set, and what it feels like. All separate from the prose itself.
Tag the beat
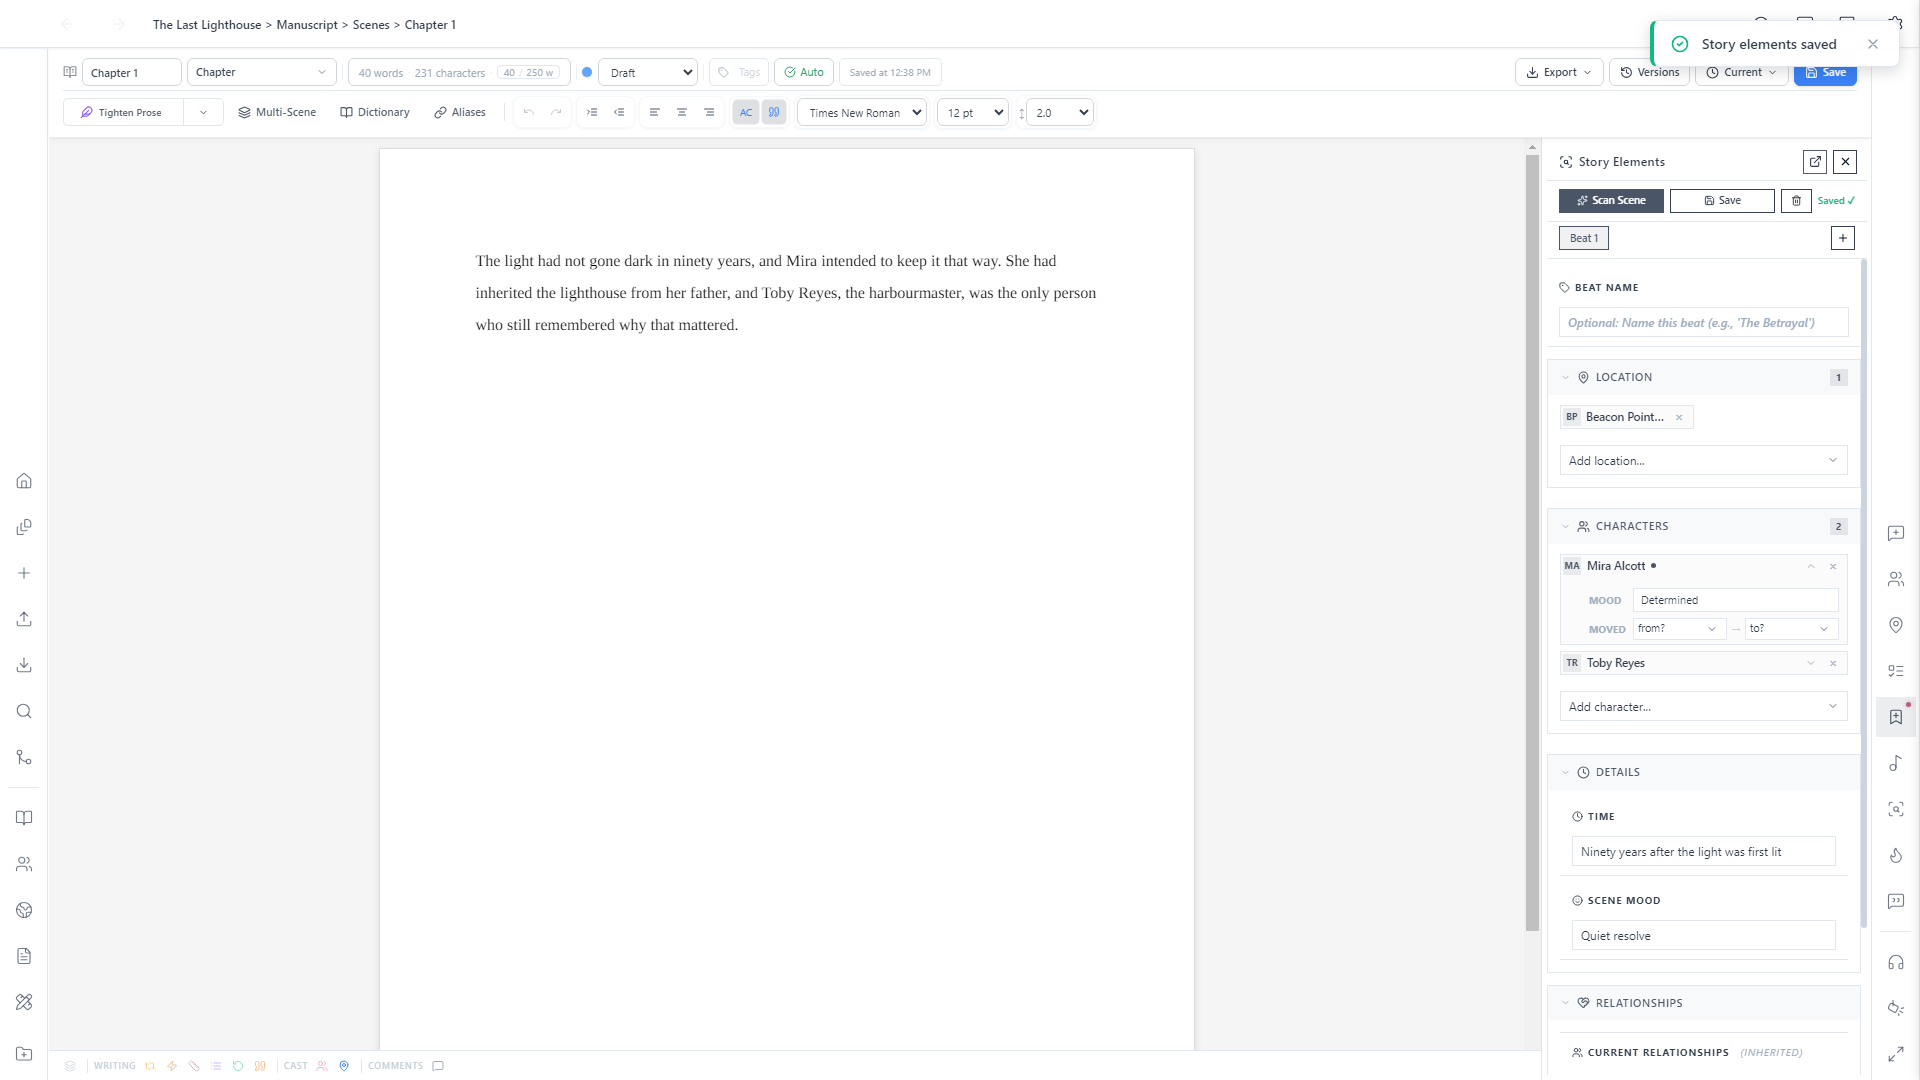
Add the location this beat takes place in from the dropdown, then add every character present. Each character card expands to record their mood in this specific beat. The same person can feel different from scene to scene, and Alistair tracks that per-beat, not just once on their character sheet. Fill in roughly when the beat occurs and its overall emotional tone, and Alistair autosaves as you go.
Open your Story Board
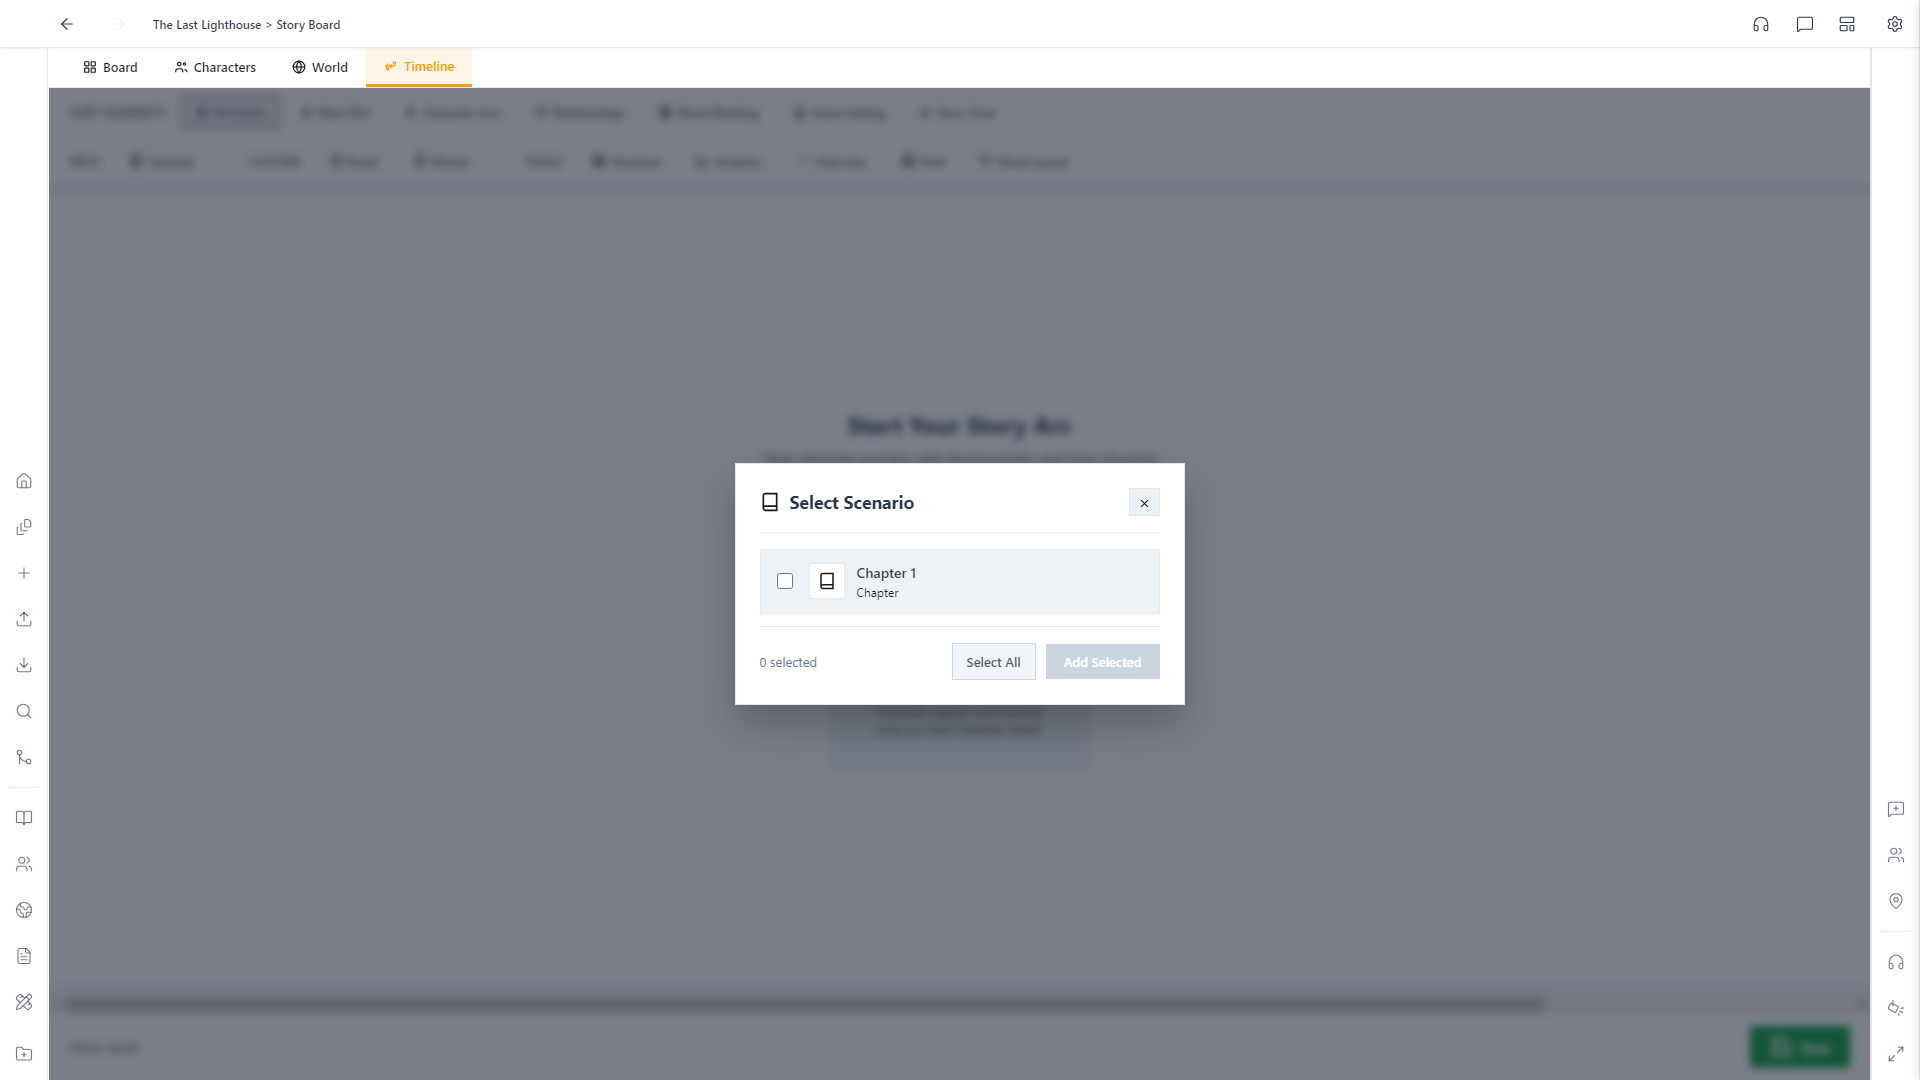
Head to Drafting → Story Board and switch to the Timeline tab. This is your story arc: a bird's-eye view of every beat across your manuscript, in order. Your characters are already there, pulled in automatically from their sheets. Chapters aren't, since Alistair can't guess which ones belong on your timeline yet, so click Scenario to place one.
Watch it build itself
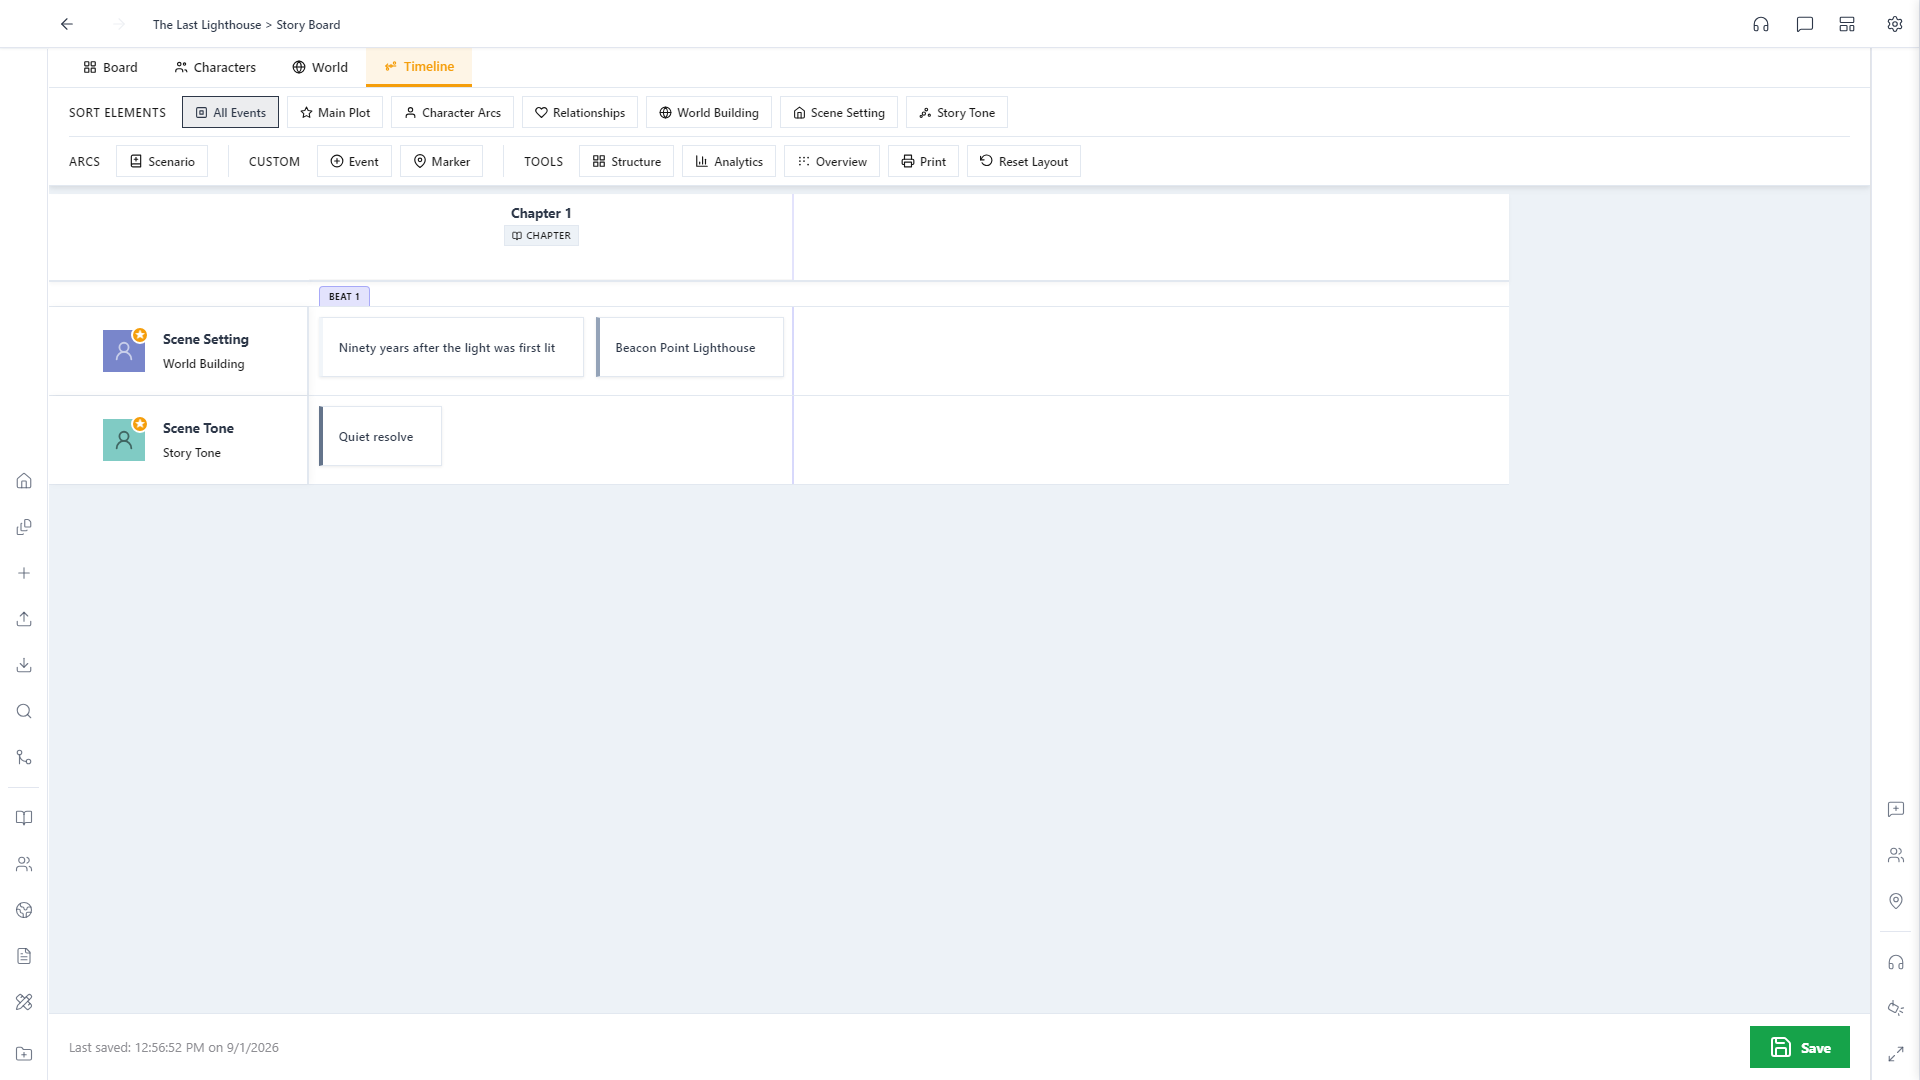
Select Chapter 1 and add it. Alistair pulls its beats straight onto the timeline: location, time, and mood, already sitting there in their own lanes, exactly as you tagged them in step 2. No retyping, no separate outline to keep in sync.