Creating Characters and Locations
Continuing from Creating Your First Manuscript, this one's about building out the cast and world for "The Last Lighthouse," then browsing them right beside your writing.
Open the Characters folder
Every project gets a Characters folder alongside Manuscript. Click it in the left rail, then Add new… and choose the Character document type. Give it a name, and the character sheet opens right away.
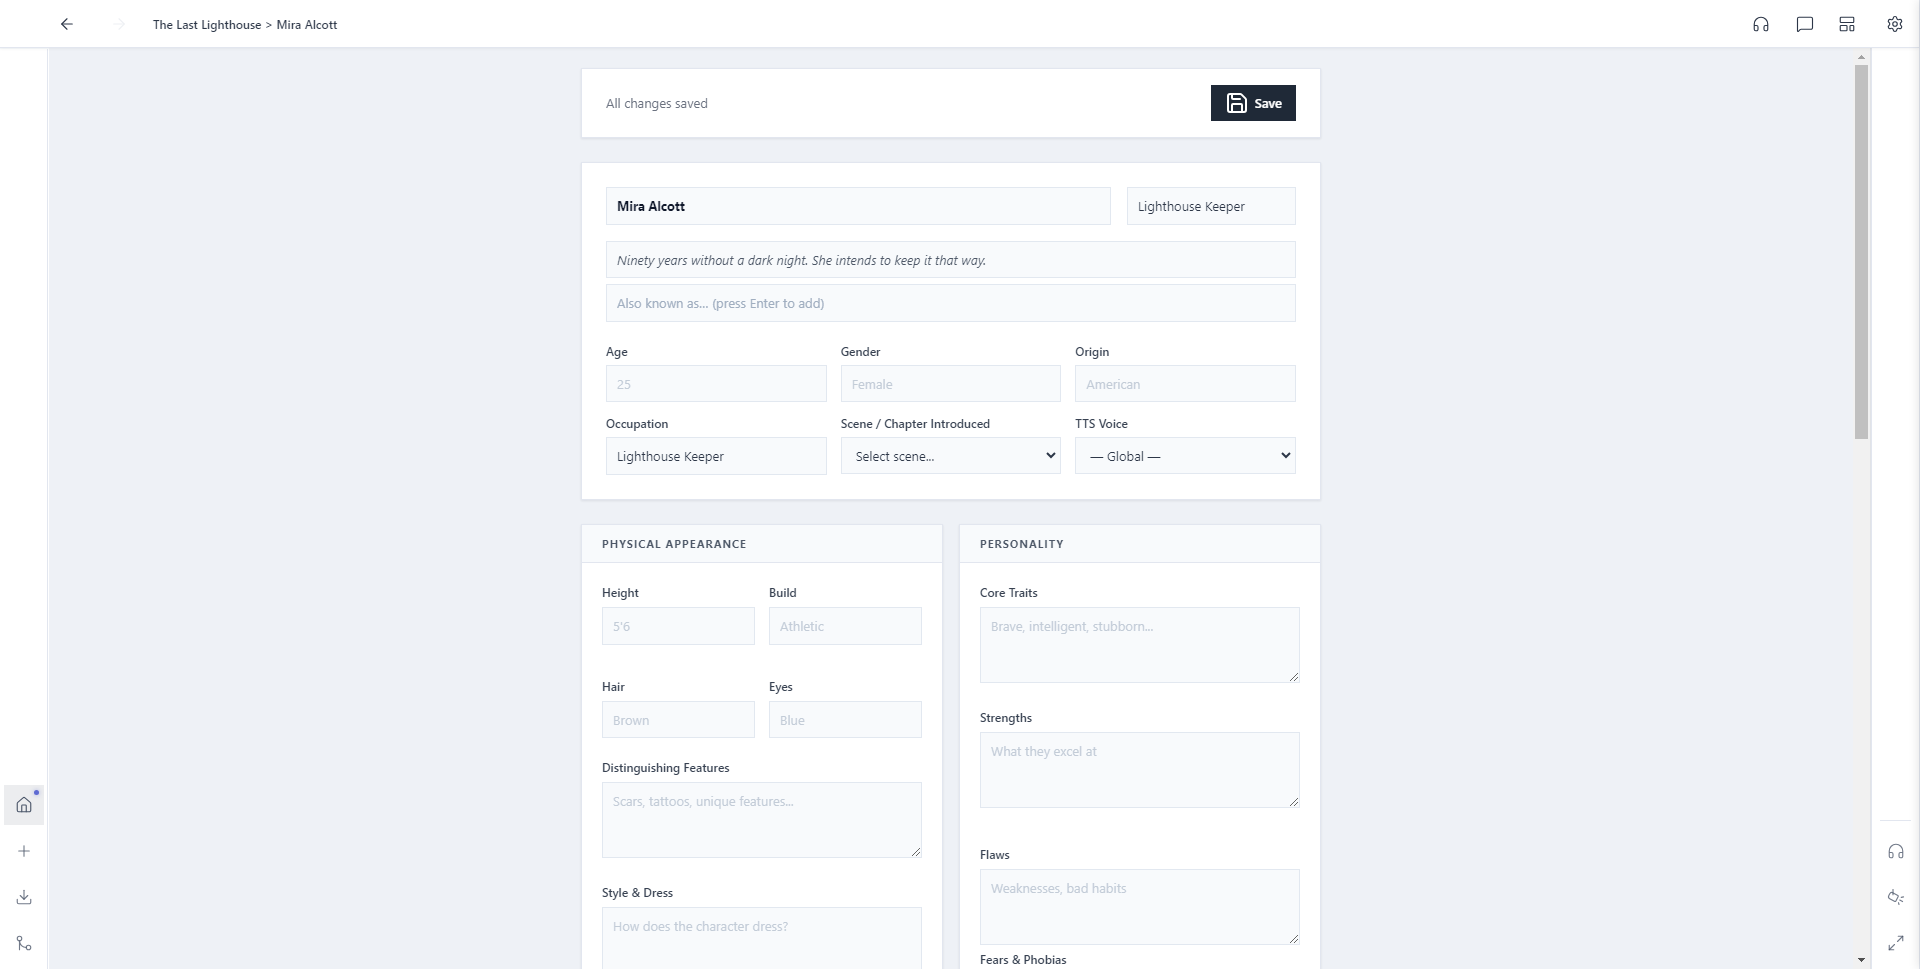
Fill out the sheet
You don't need to fill in every field. Alistair's character sheet covers everything from physical appearance to character arc, but the three that matter most sit right at the top: Name, Role, and a one-line Tagline. These are what show up everywhere else this character appears.
Do the same for a location
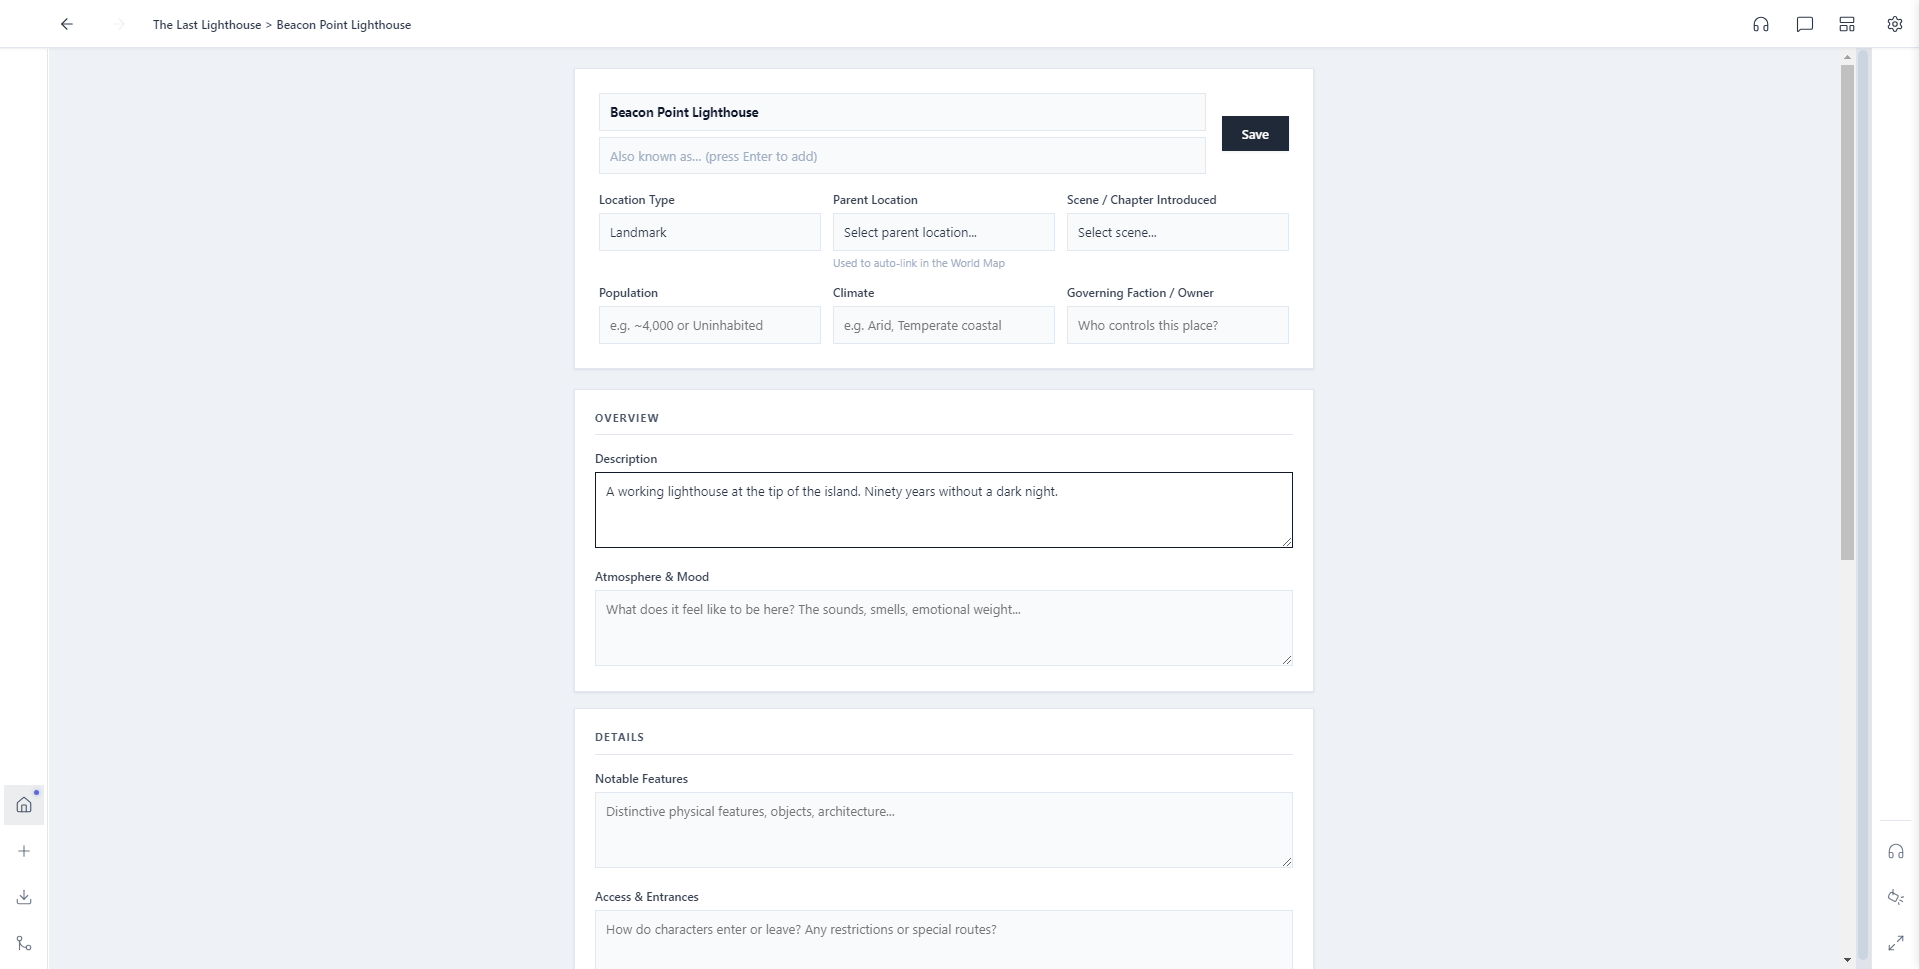
Locations live in the World Building folder, with their own sheet: type, parent location (so a room can nest inside a building, which nests inside a city), population, climate, and a description.
Browse your cast while you write
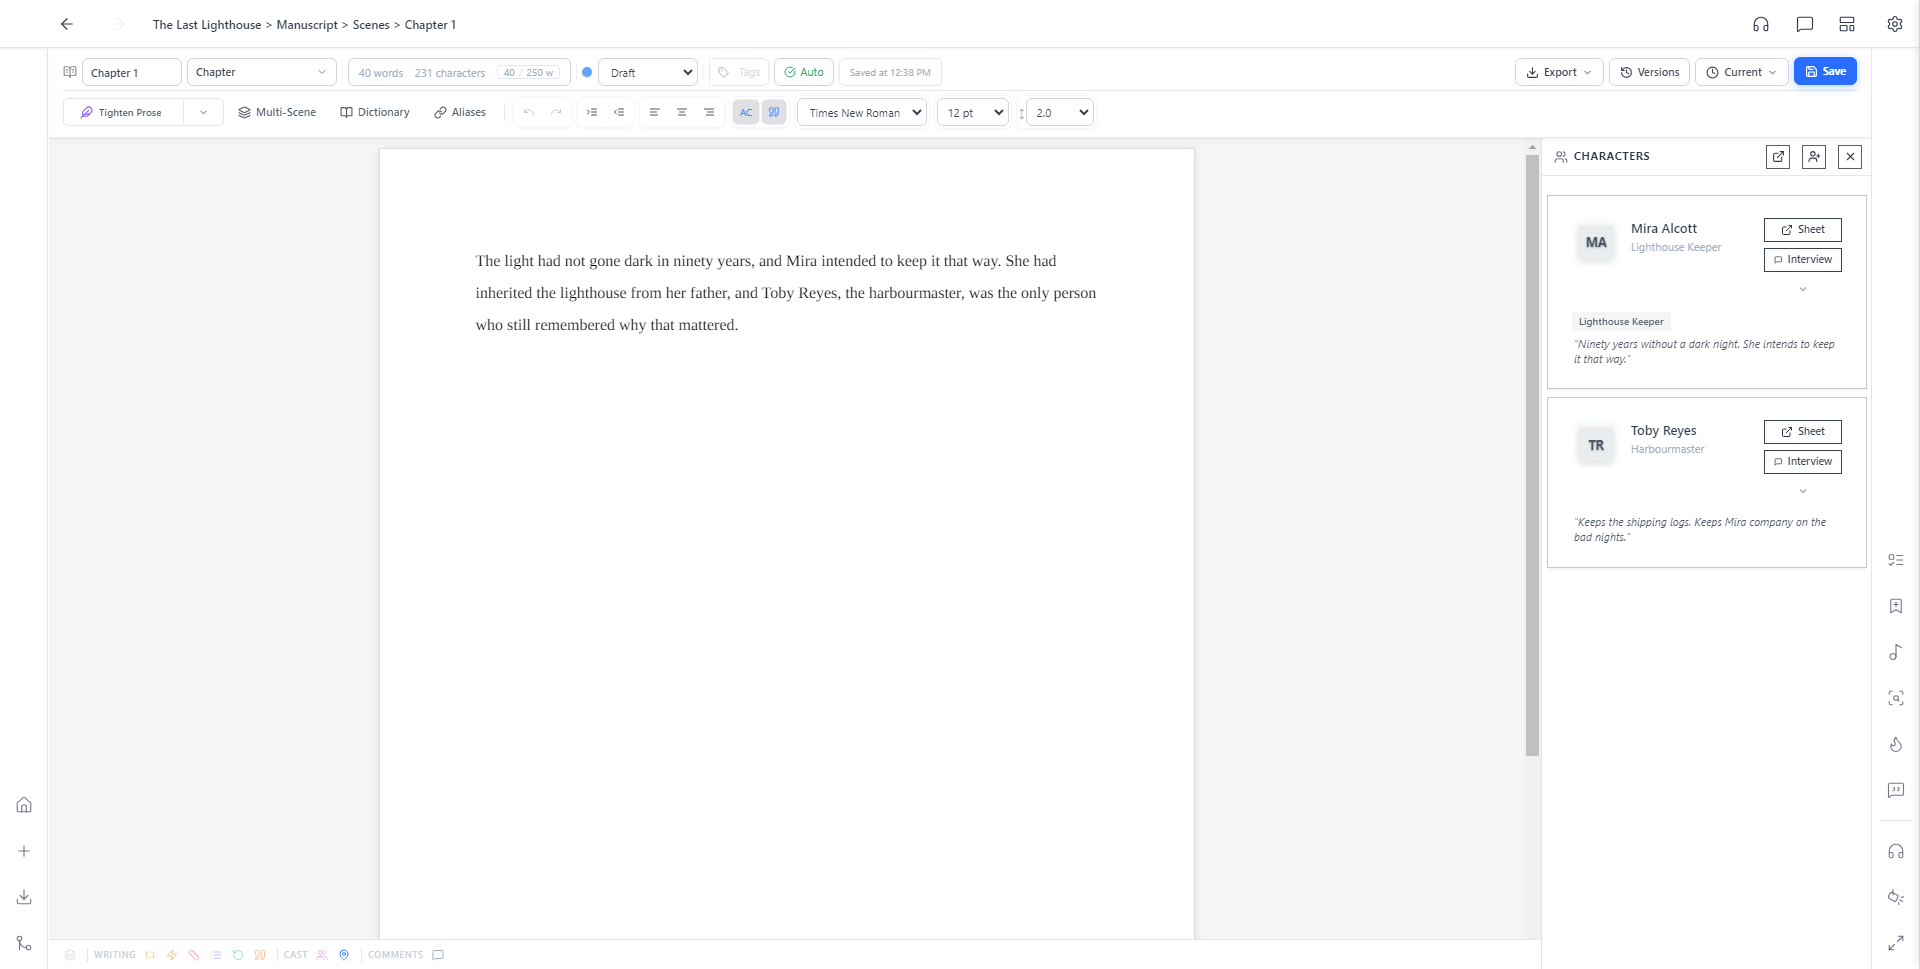
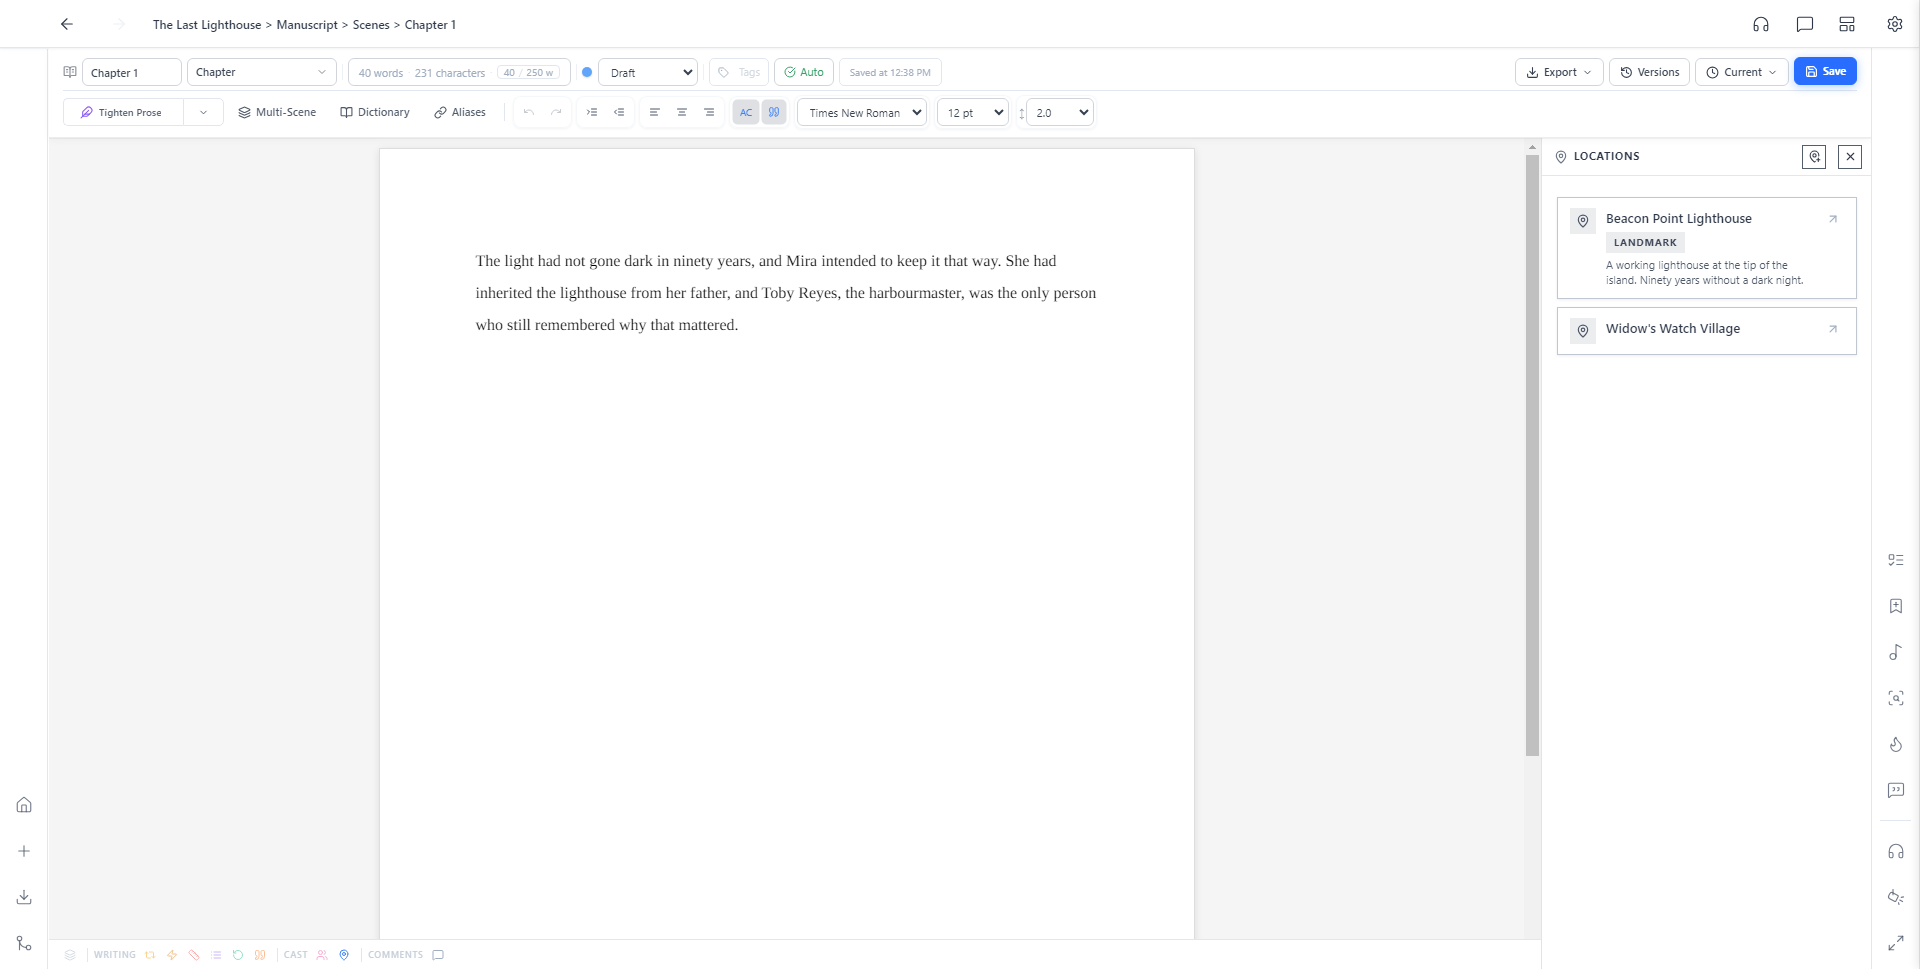
Open any scene and look at the icon strip on the right edge of the window. The Characters tile opens a panel listing everyone you've created. Click Sheet to jump to a full profile, or just glance at the tagline to remind yourself who's who without leaving the page.
Same thing for locations
The Locations tile right below it does the same for your world: every place you've created, browsable right beside your prose.
Link a relationship
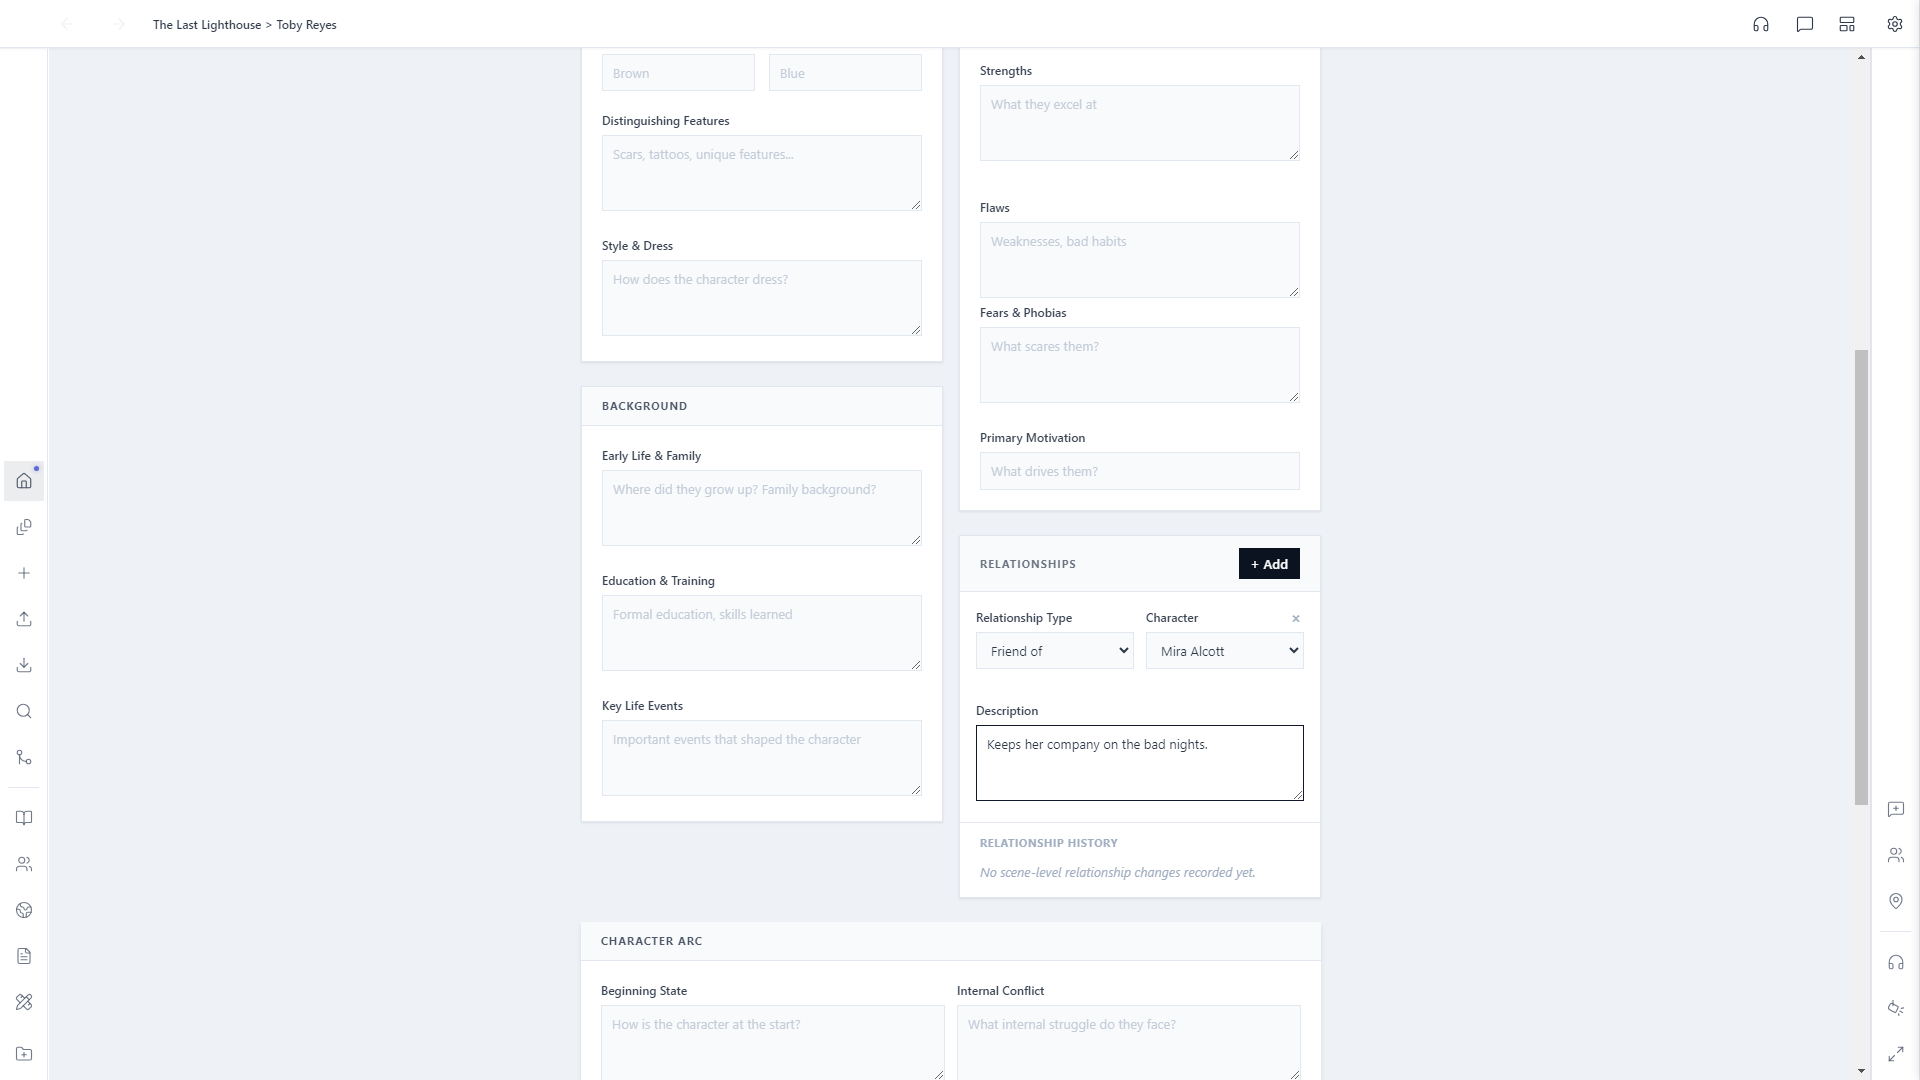
Relationships live on the character sheet itself, not on the map. Open a character (say, Toby Reyes), scroll to Relationships, and click + Add. Pick a Relationship Type (Friend of, Sibling of, Rival of, Romantic partner of, and plenty more), then pick the other character from the dropdown. It's pulled straight from the character sheets you've already created.
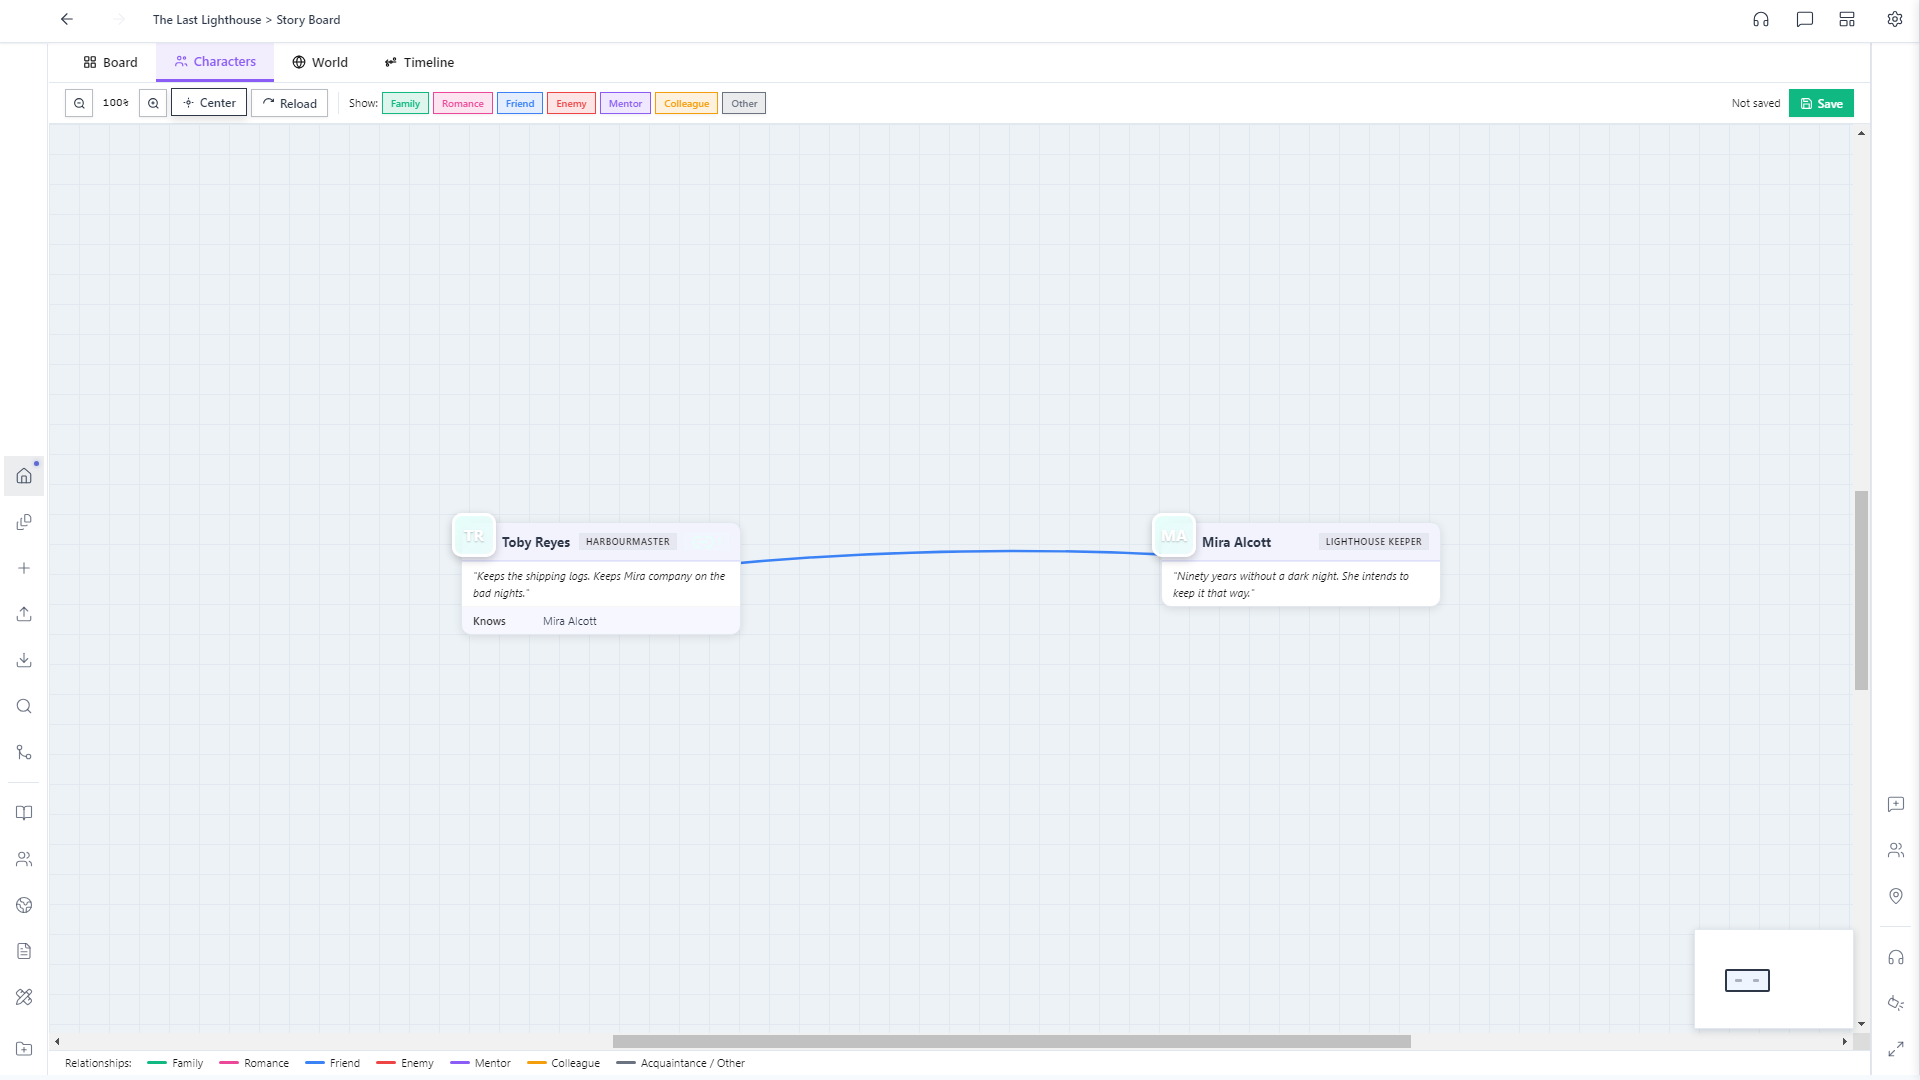
See it on the Character Map
Open Drafting → Story Board and switch to the Characters tab. Every character sheet you've created shows up as a card you can drag into position, and the relationship you just linked appears as a colour-coded line between them automatically. No drawing required. The World tab does the same for locations, nesting them the way you set up parent locations back in step 3.