Creating Your First Manuscript
Ready to start your novel? This walks you through Alistair from a blank welcome screen all the way to your first paragraph of actual prose.
Open Alistair
Launch Alistair for the first time and you'll land on the welcome screen. No clutter, no lengthy setup wizard, just the toolbar and a New Project button waiting for you.
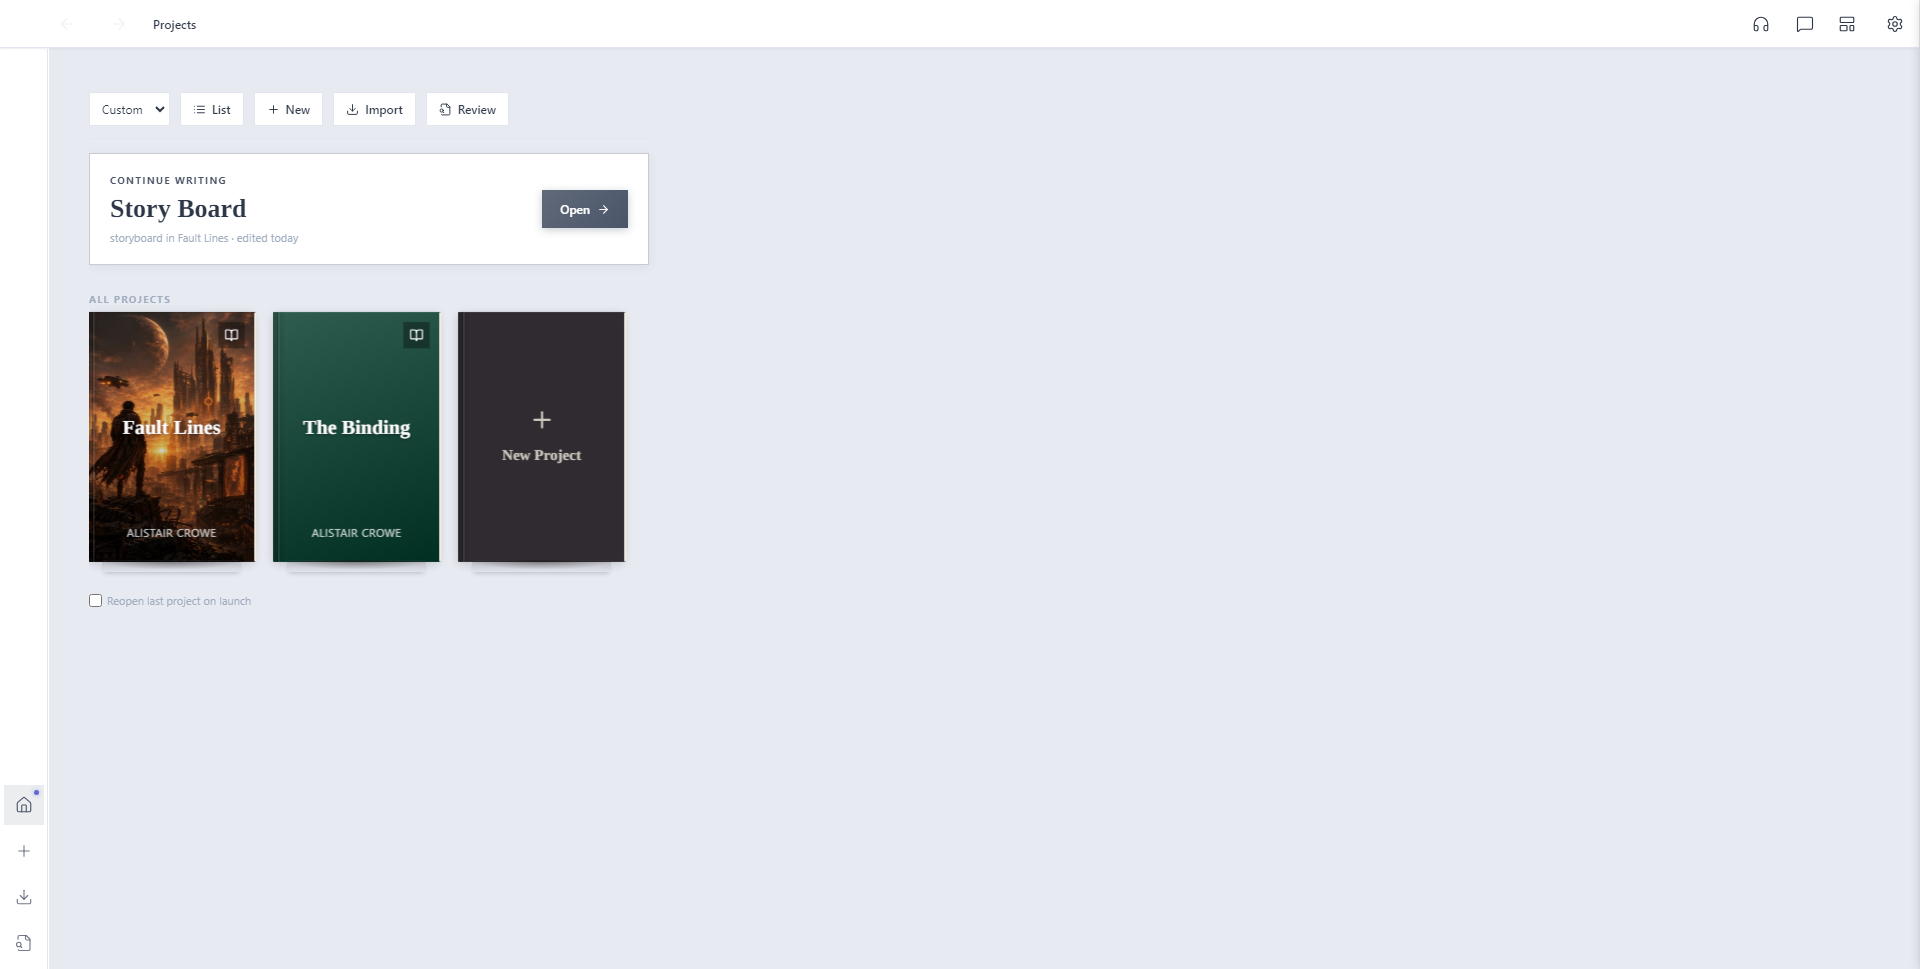
Click New Project
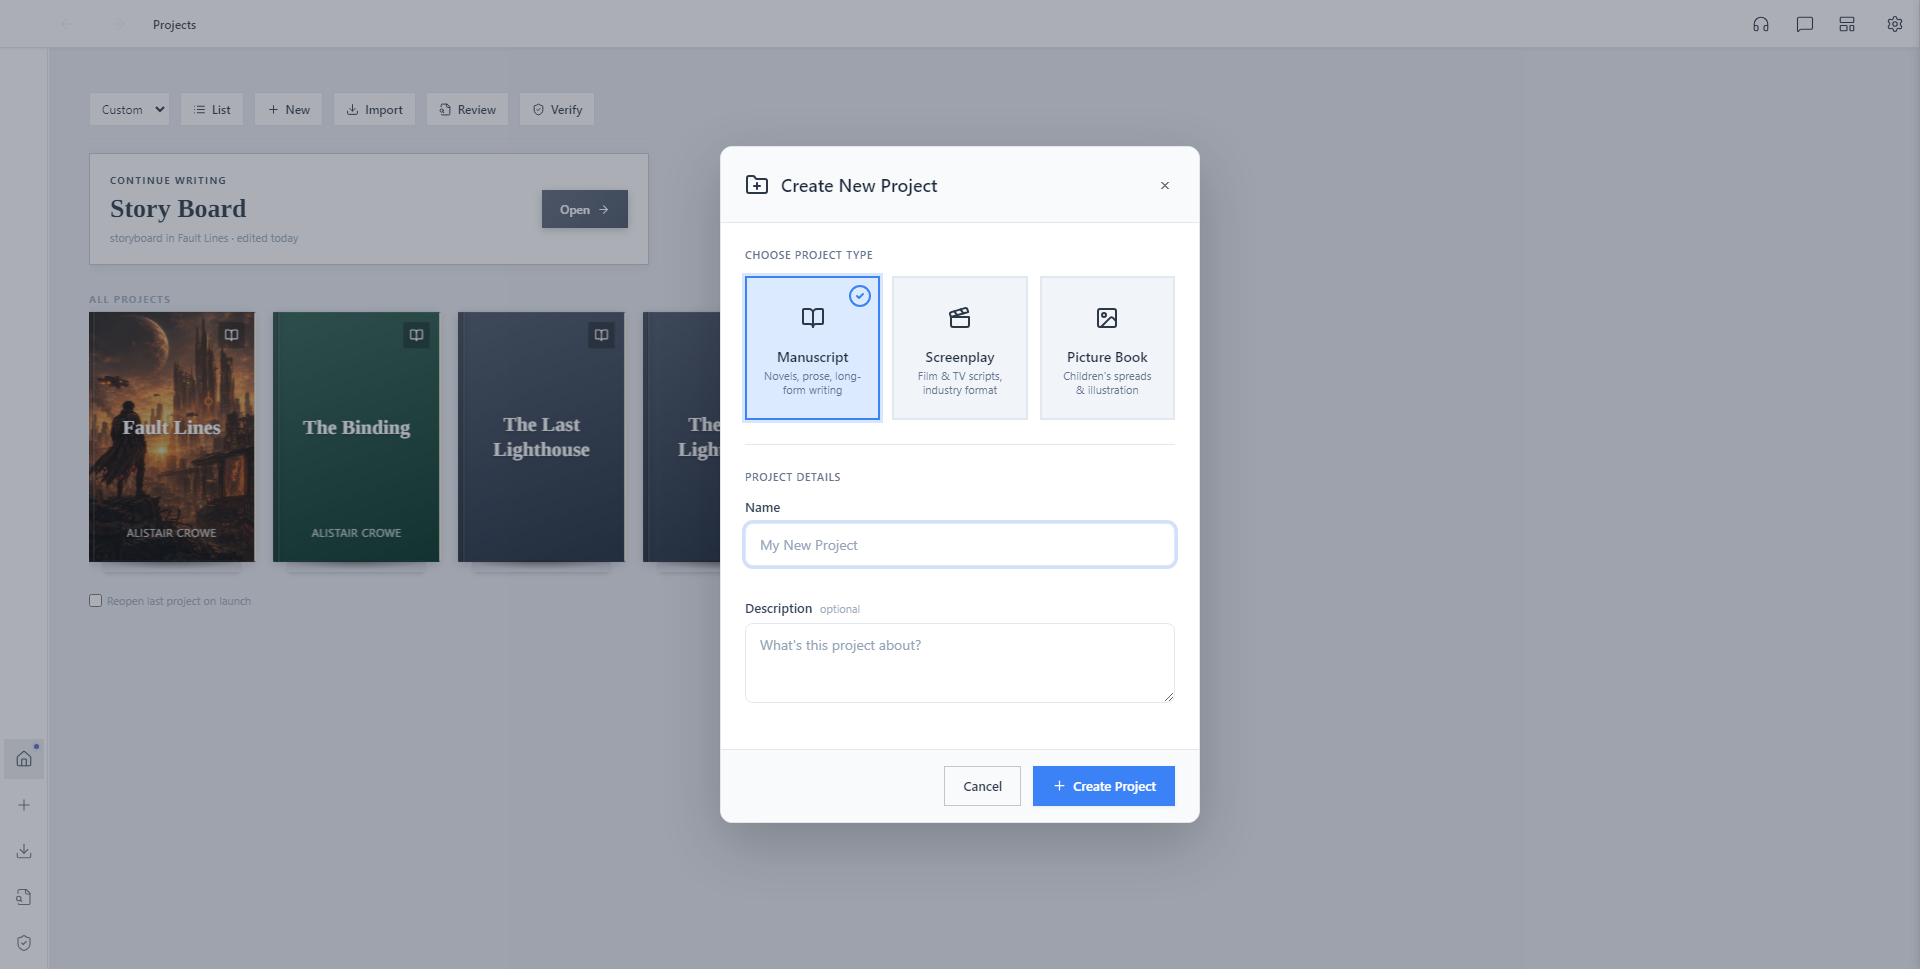
A modal opens asking what kind of project you're starting. Alistair has three project types:
- Manuscript: novels, short stories, poetry collections
- Screenplay: real industry-standard screenplay formatting
- Picture Book: page-spread layout for illustrated children's books
For a novel, you want Manuscript. Good news: it's already selected by default.
Name your project
Type a name for your project. This becomes both the project's display name and the folder name it's stored under. Click Create Project.
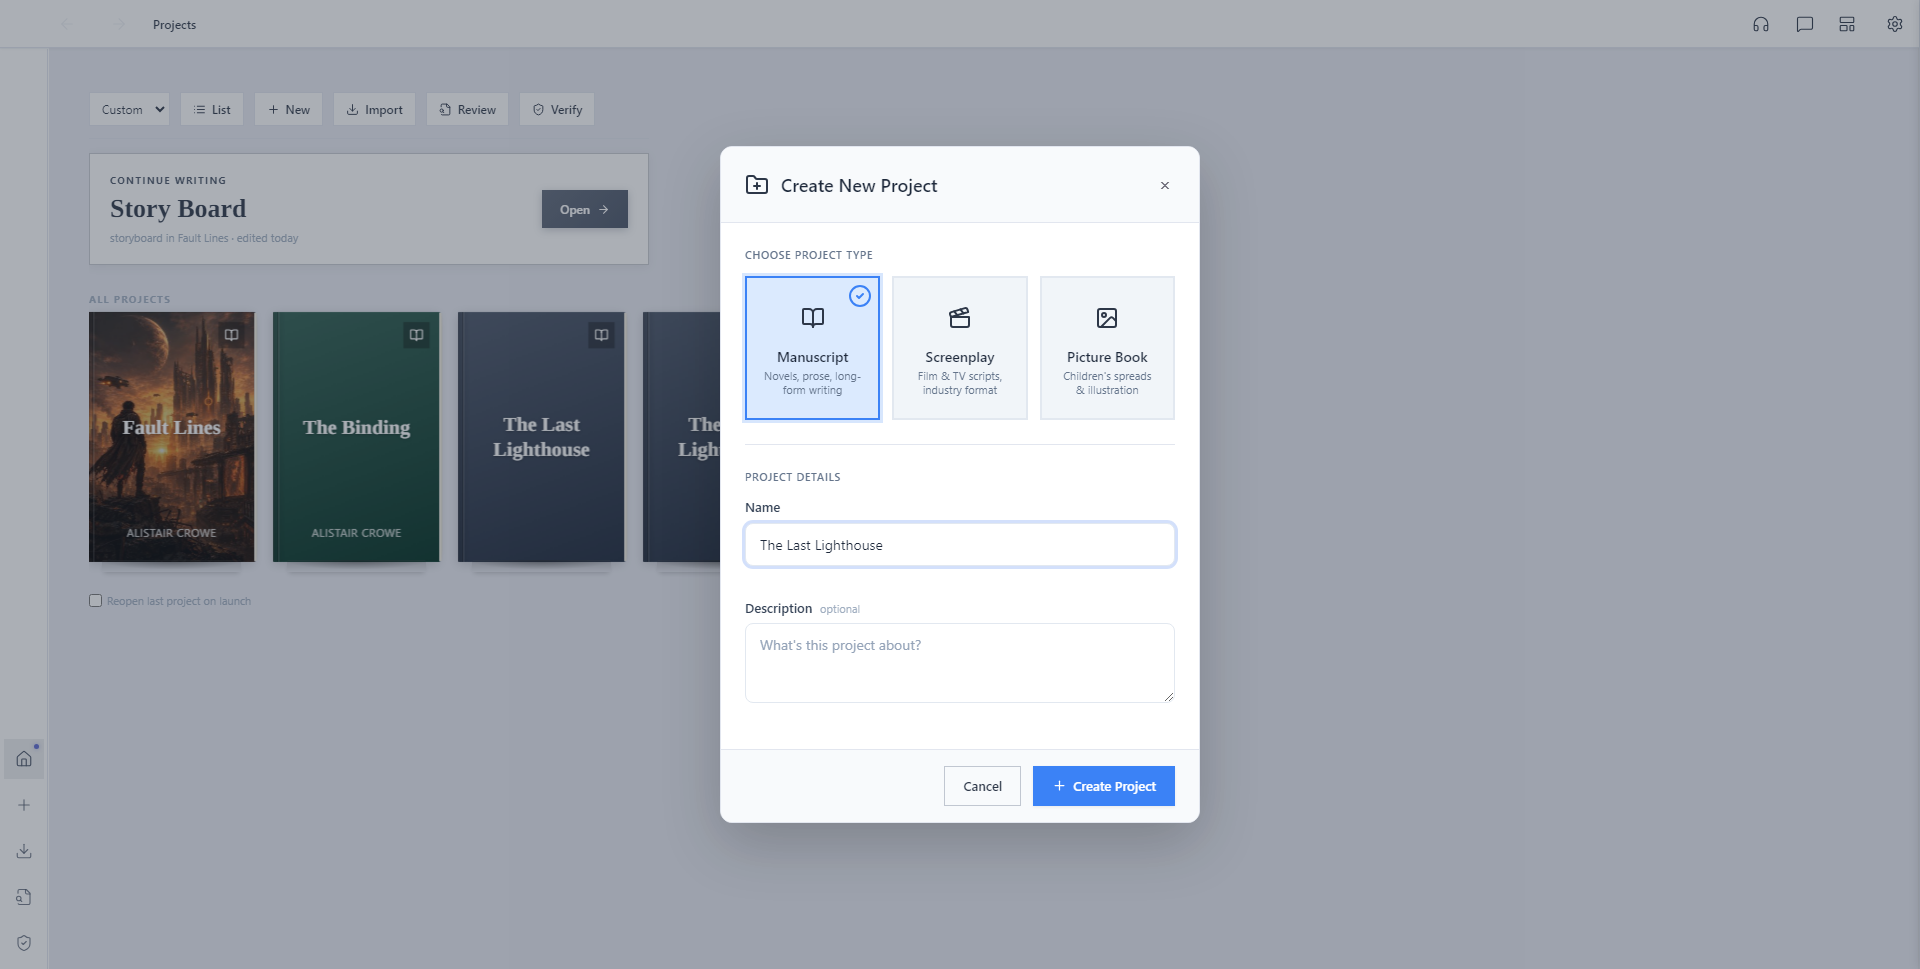
Naming a project. This one's called "The Last Lighthouse."
Meet your project home
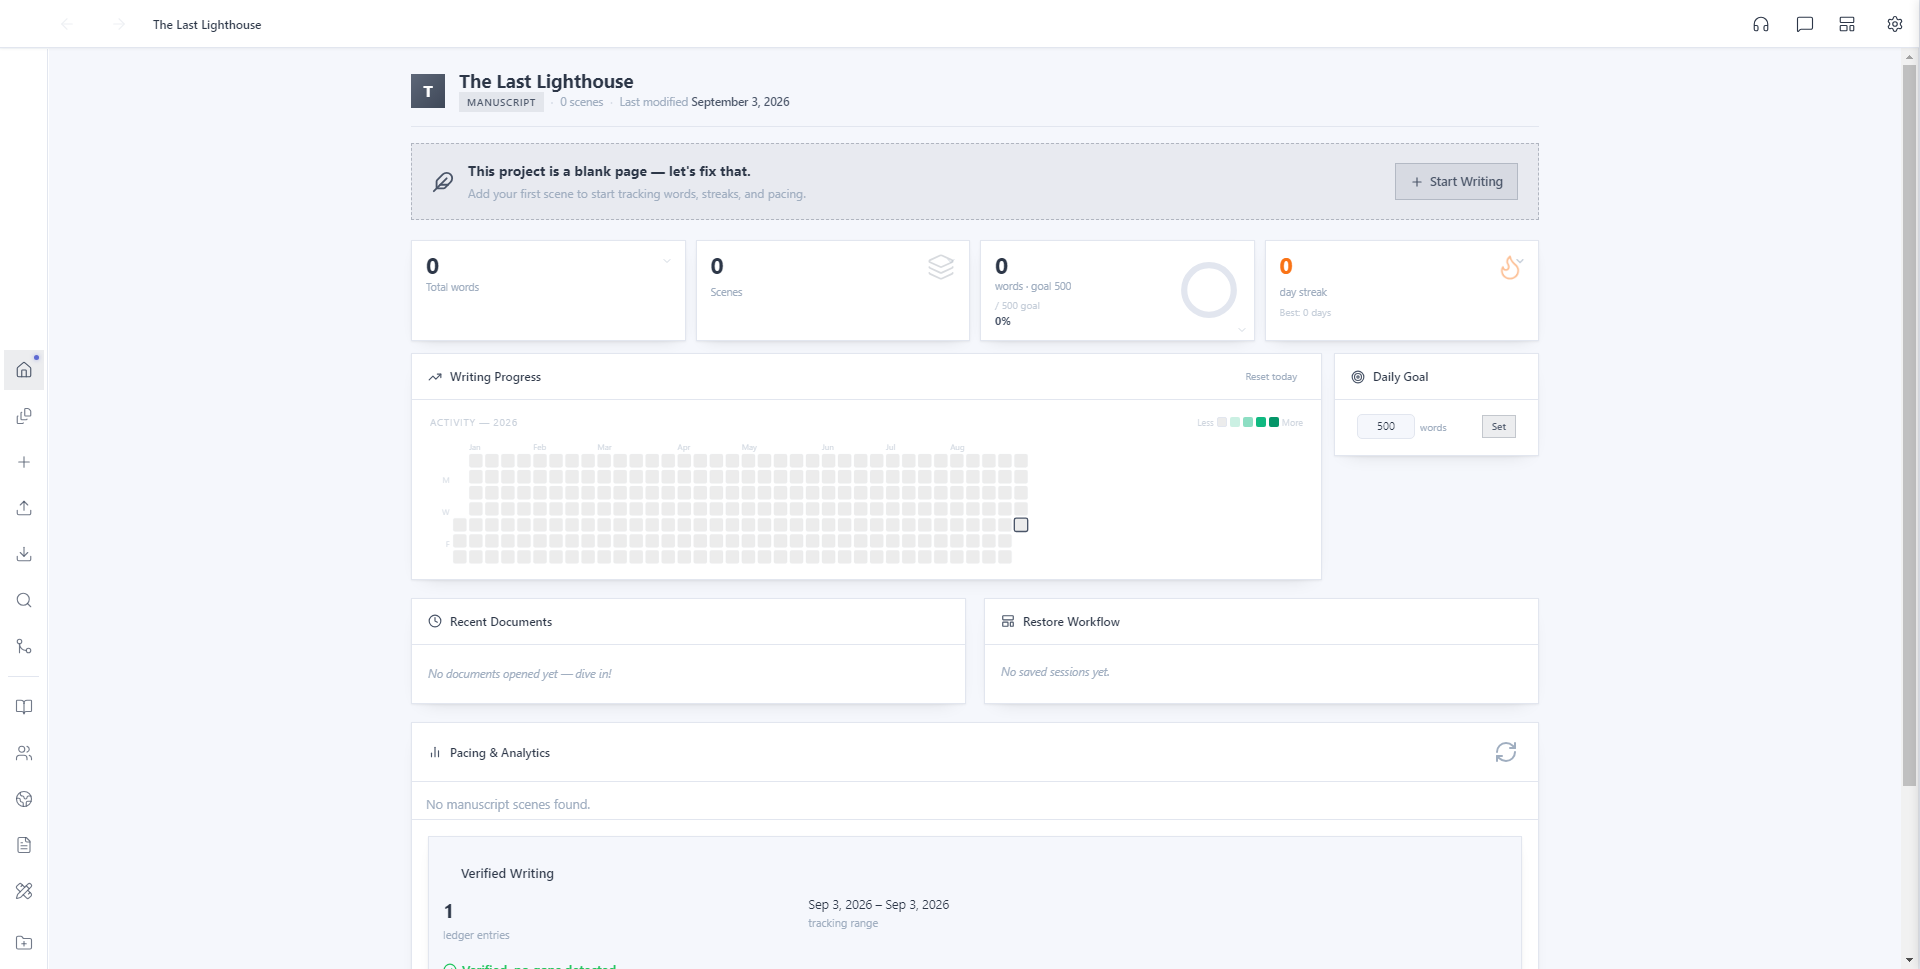
Alistair drops you straight into your new project's home screen. Since there's nothing written yet, you'll see a banner: "This project is a blank page — let's fix that."
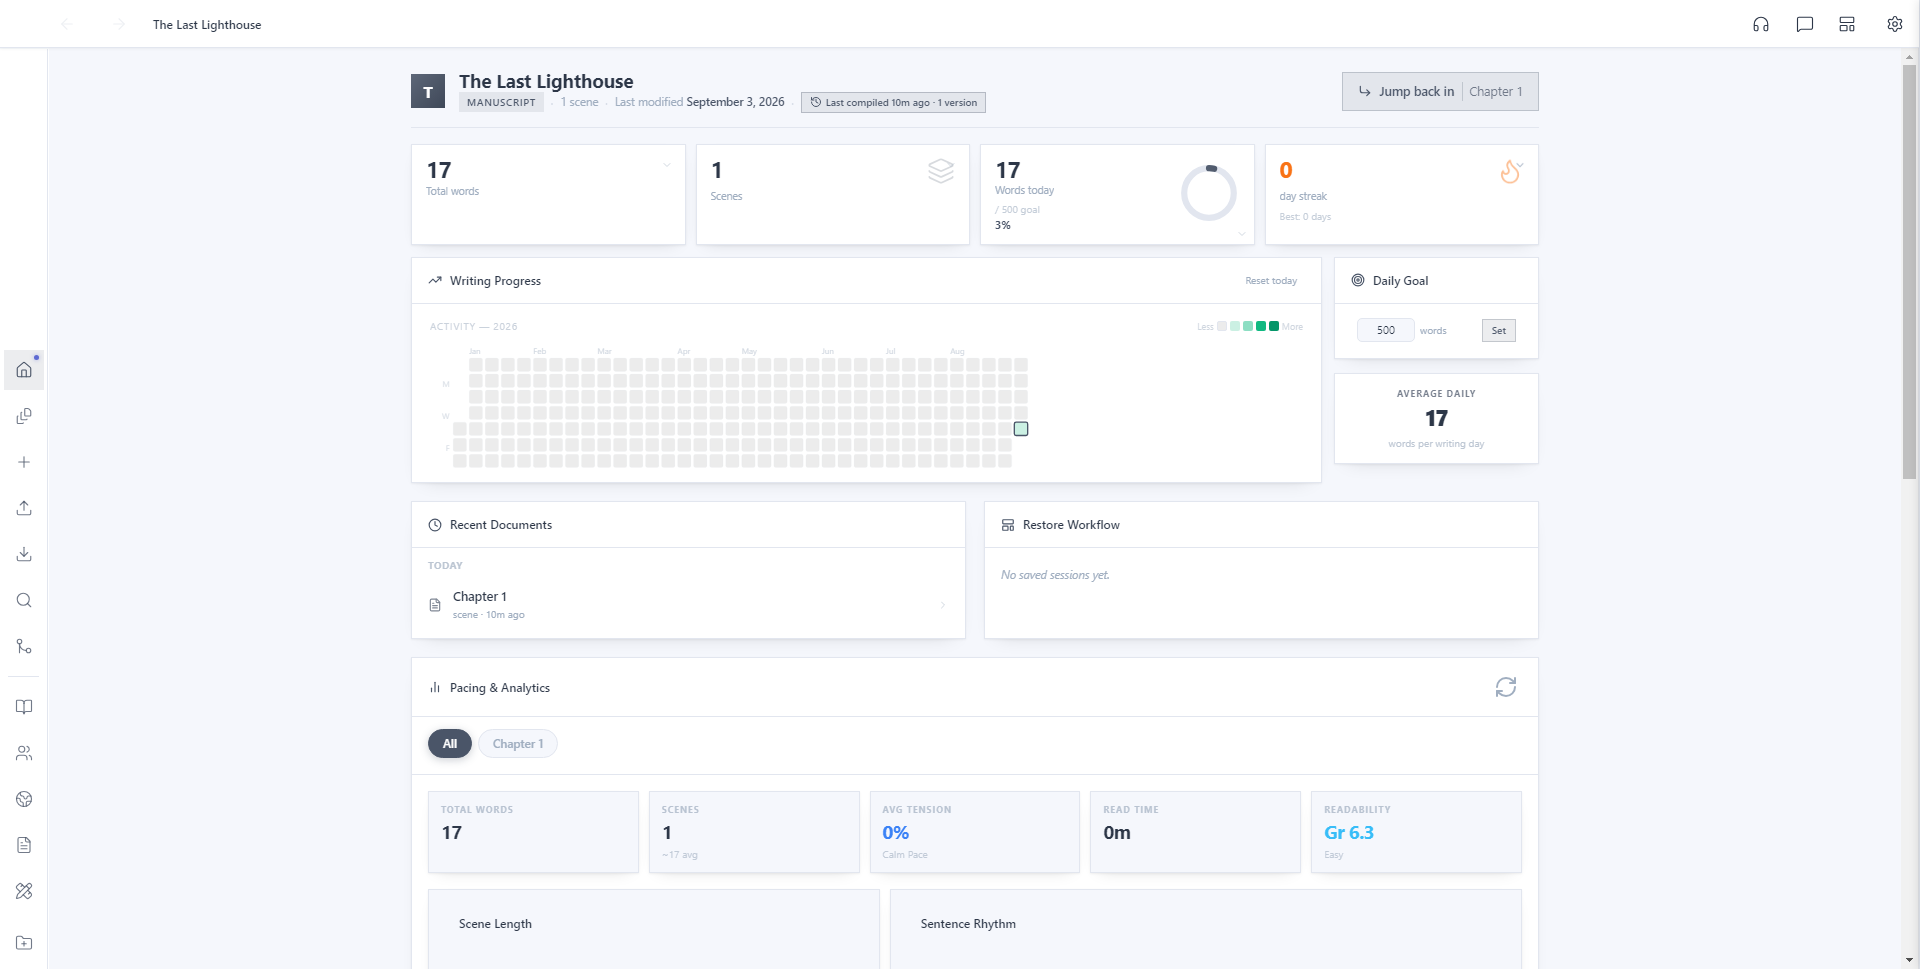
This is also your dashboard once you're actually writing: word counts, a writing streak, an activity heatmap, and your recent documents all live here. Right now, it's just waiting for you to get started.
Start writing
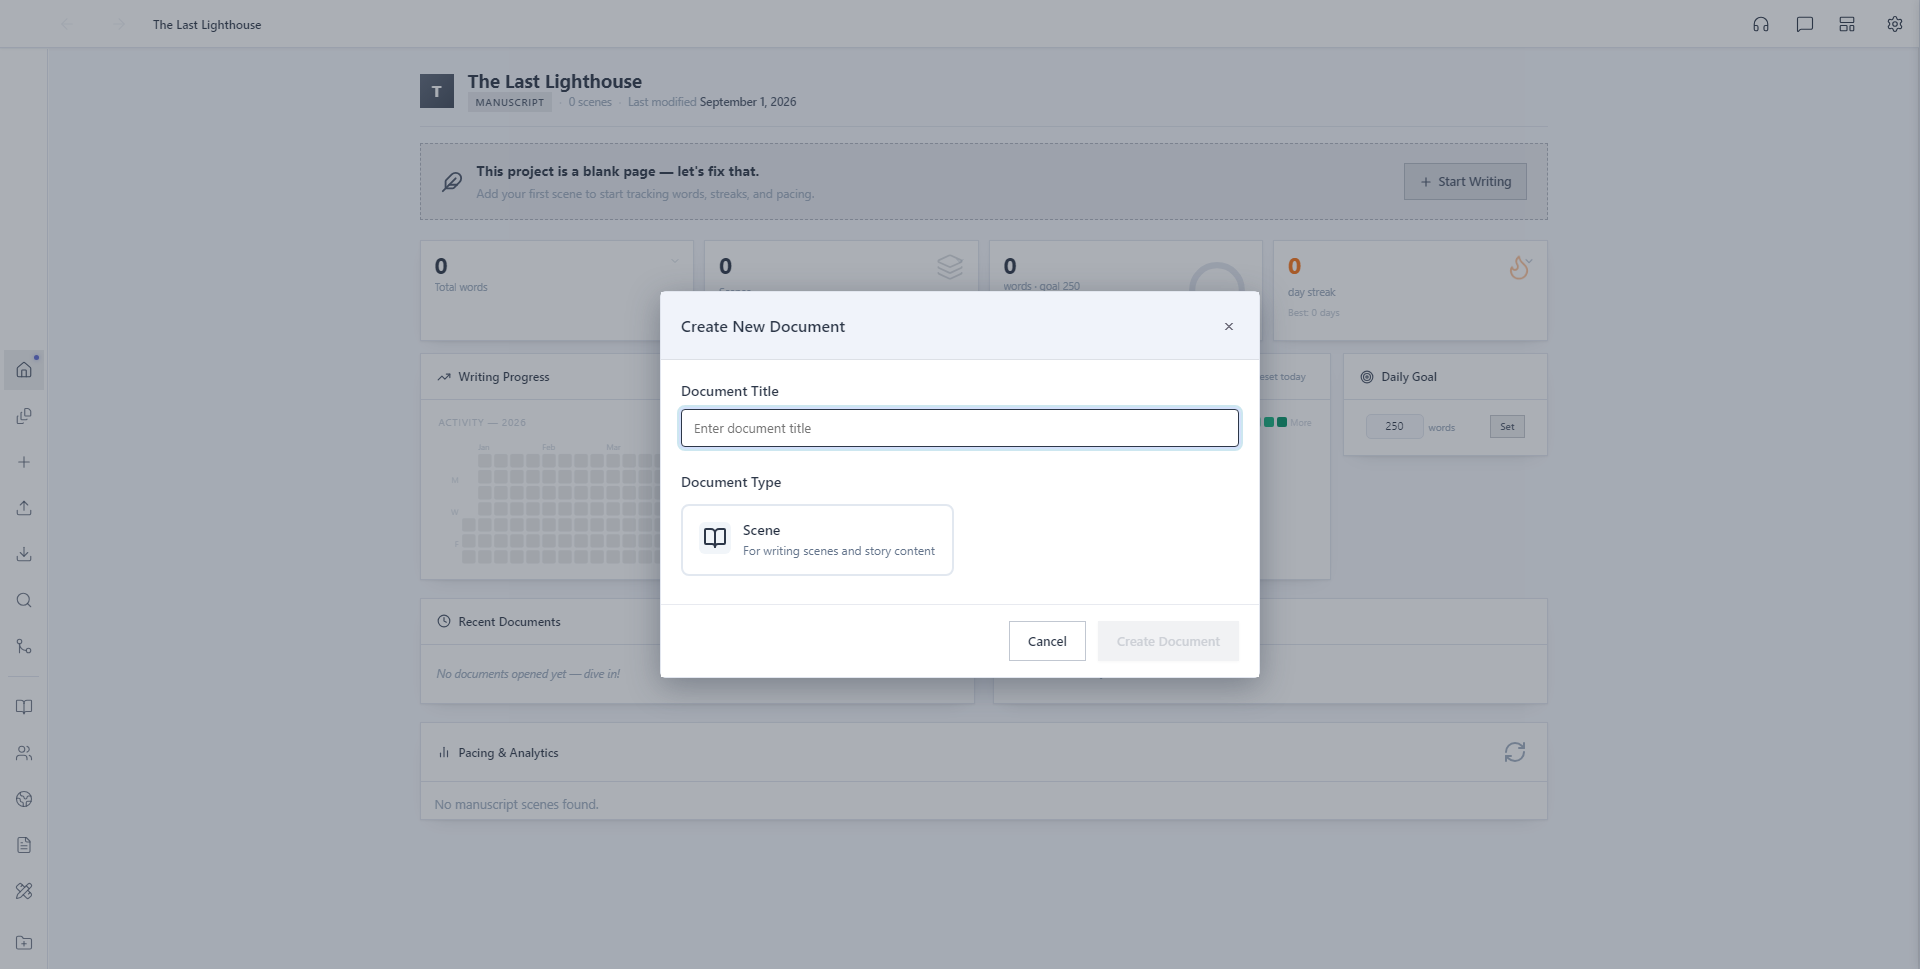
Click Start Writing on the banner. This opens the same "create a document" modal you'd get from right-clicking a folder, already pointed at your manuscript's Scenes folder. Click the Scene card (Alistair's term for any chapter, scene, or section of prose), then give it a title. "Chapter 1" works great, and you can always rename it later.
Write
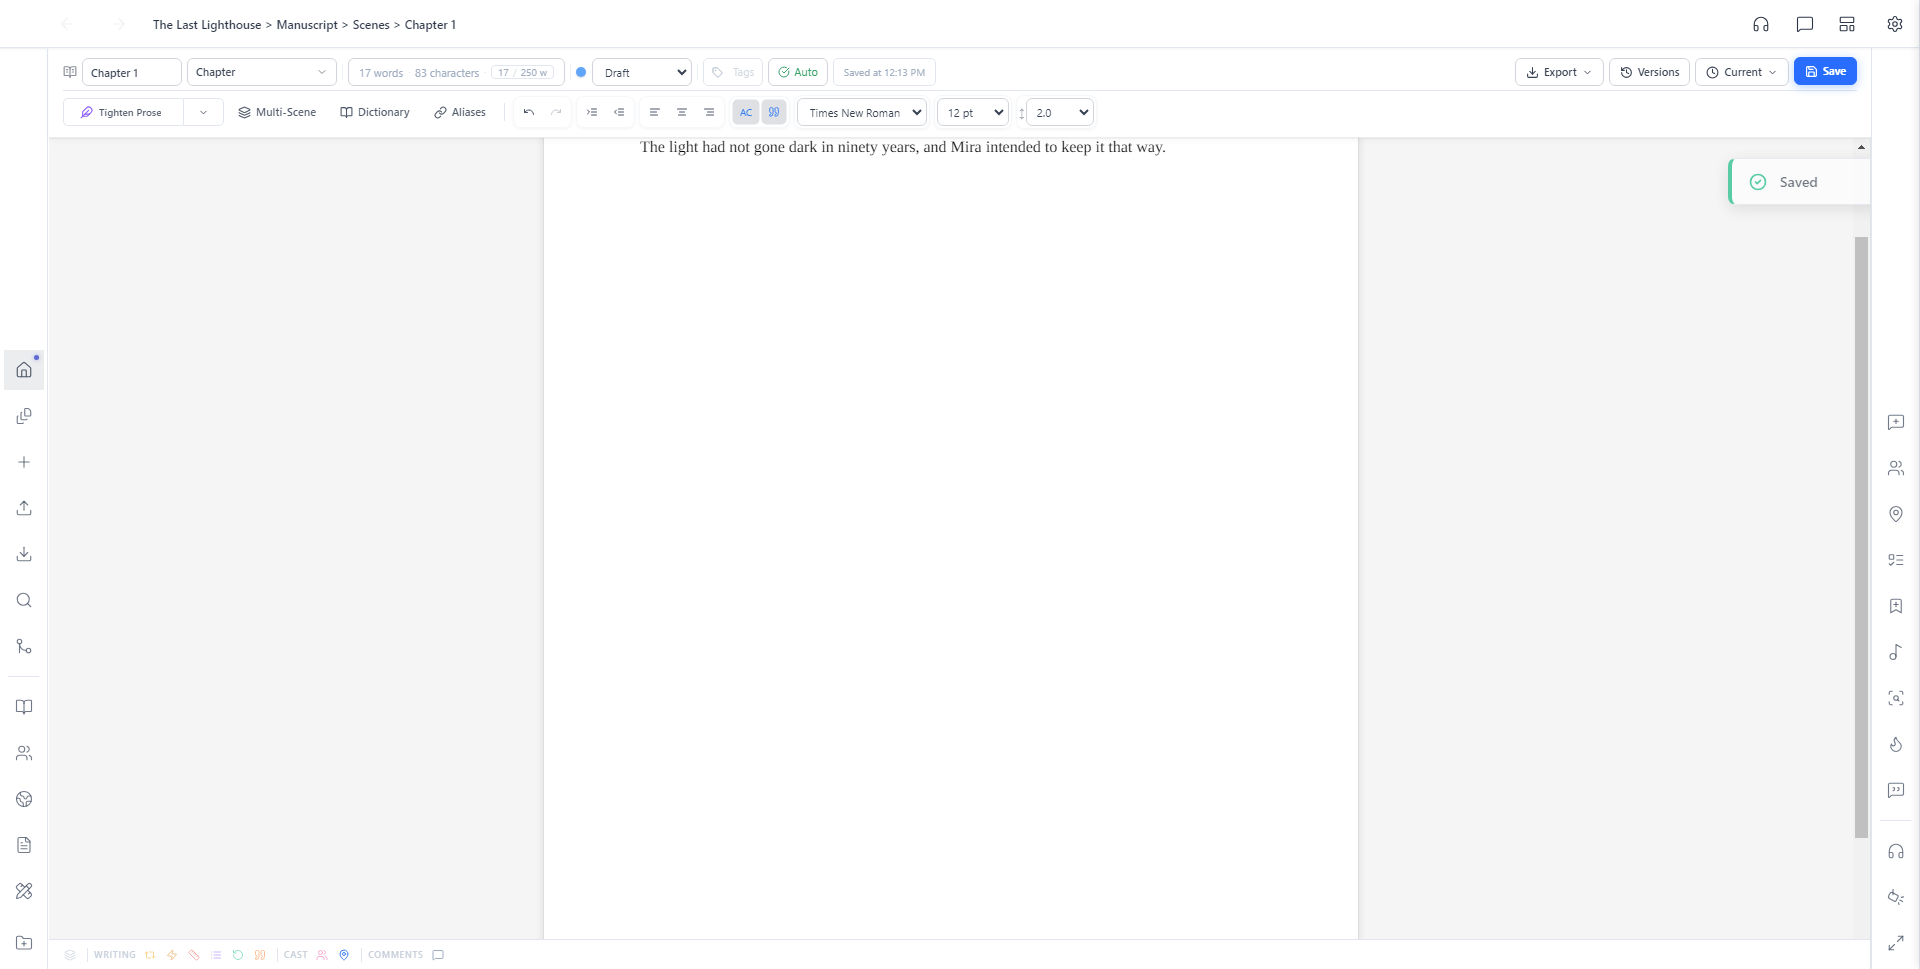
Click Create Document. Alistair opens the scene editor, empty and waiting for words. Click into the page and start typing. No formatting to configure first, no decisions to make. Alistair autosaves as you go (the toolbar shows exactly when it last saved), and the word count in the top bar updates live as you type.
Check your progress
Head back to your project's home screen any time and you'll see it's not so blank anymore. Your word count, scene count, and today's writing streak are already tracking themselves.